This post contains affiliate links. If you buy through these links, I may earn a small commission at no extra cost to you. Read my full disclosure policy here.
Key Takeaways
A successful tasting event depends on pacing, food, clear information, and guest comfort as much as the drinks themselves.
Measured sample pours help guests compare flavors without making the event feel rushed or excessive.
Water, substantial snacks, alcohol-free options, and transportation planning should be included from the beginning.
A simple format with a clear theme is often more memorable than a large, complicated lineup.
Why Tasting Events Need Better Planning
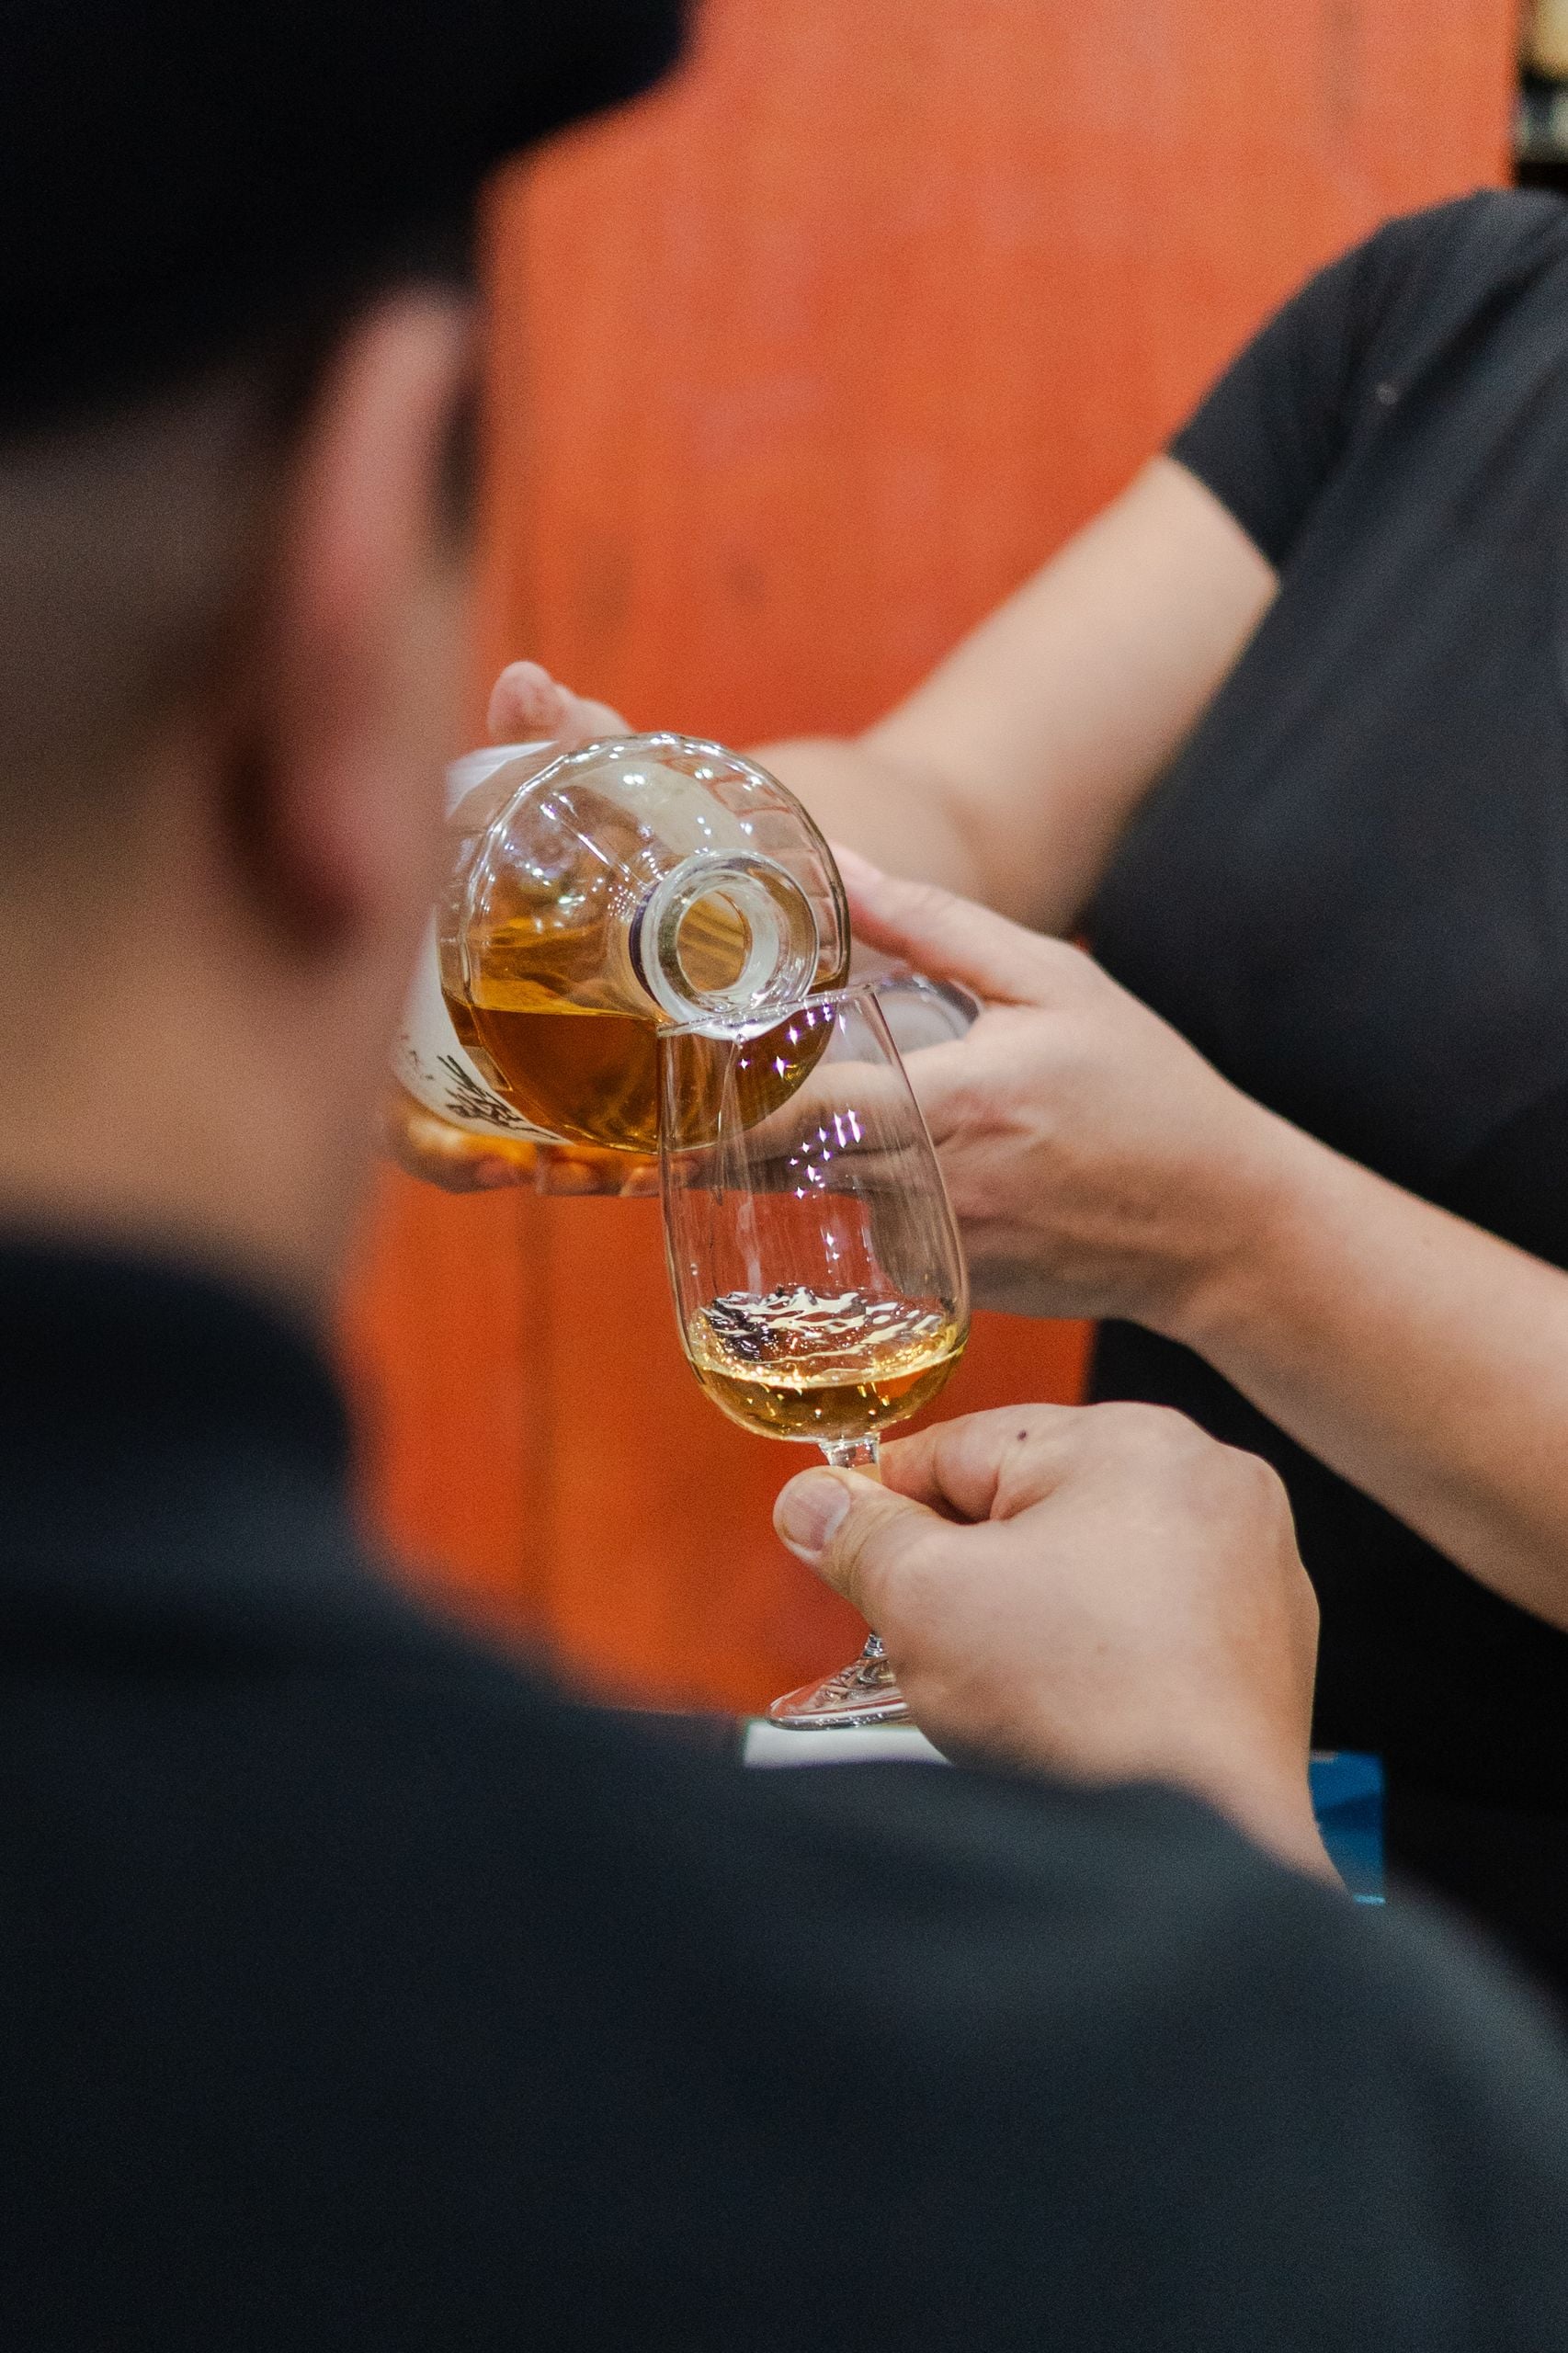
A tasting event can be a relaxed dinner, a client gathering, a product introduction, or a casual night with friends. Whatever the setting, guests enjoy it most when the experience feels easy to follow. A few thoughtful details, including a clear order of service, comfortable seating, and a visible water station, can turn a collection of samples into a purposeful social event.
Presentation also helps establish the tone. Branded menus, tasting cards, and custom shot glasses bulk can make portions easier to manage while giving guests a useful keepsake. The goal is not to make the occasion formal. It is to provide enough structure that people can focus on flavors, conversation, and the shared experience.

What Makes A Tasting Event Work?
Start with one clear theme. It might be regional wines, seasonal cocktails, craft spirits, alcohol-free botanical drinks, or a food-and-beverage pairing menu. A theme helps guests understand what they are tasting and helps the host make practical choices about glassware, food, decor, and timing.
Keep the selection manageable. A shorter menu gives people time to notice differences between samples and ask questions. It also reduces setup pressure for the host. Provide easy-to-read tasting cards with the drink name, main flavor notes, serving order, and any ingredient information that may matter to guests.
Choose one focused event theme.
Serve a practical number of samples.
Use readable labels and tasting cards.
Keep food, water, and napkins within reach.
Leave open pathways for movement and conversation.
Step One: Set The Event Goal
Decide what the gathering should accomplish before choosing the menu. A holiday party calls for a different pace than an educational tasting, and a venue open house needs a different setup than a seated dinner. Write down the desired guest experience in one sentence, such as: “A relaxed introduction to local cider with simple food pairings.” That sentence can guide every later decision.
Next, set a guest count and budget. These two details determine how much space, staff, glassware, ice, food, and cleanup capacity you need. If guests arrive at different times, consider a rolling format with clearly marked stations rather than a tightly timed presentation.
Step Two: Build A Balanced Tasting Menu
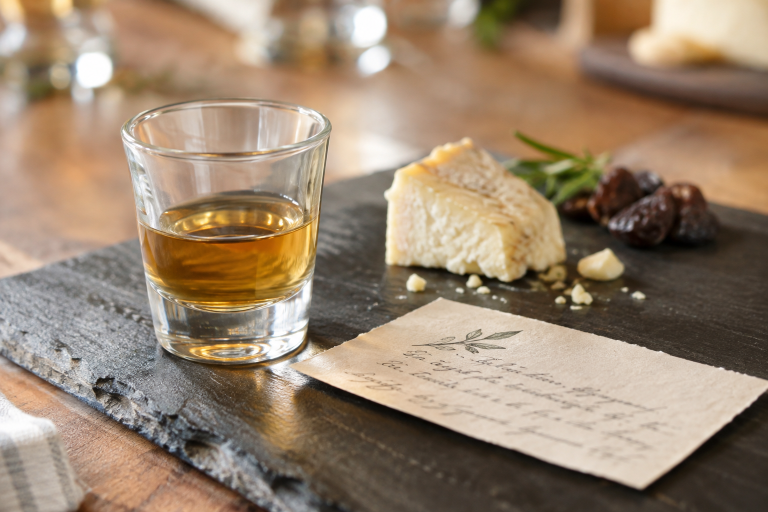
Arrange beverages in an order that makes sense to the palate. Lighter, drier, or more delicate options generally belong before fuller, sweeter, or more intensely flavored selections. For mixed events, offer an alcohol-free choice that matches the style or flavor direction of each stage so every guest can participate in the progression.
Begin with lighter flavors and lower-intensity aromas.
Move toward richer, bolder, or more complex selections.
Place sweeter drinks near the end.
Include a nonalcoholic alternative at every stage.
Finish with one memorable final sample instead of adding extra choices.
Step Three: Plan Sample Sizes And Clear Labels
Measure pours rather than estimating them. Serving size and alcohol content both affect how much pure alcohol is in a drink. In the United States, a standard drink contains 0.6 fluid ounces, or 14 grams, of pure alcohol, but beverage strength and customary serving sizes vary. The standard drink examples from the National Institute on Alcohol Abuse and Alcoholism can help hosts communicate this difference clearly.
Each station label should include the beverage name, style, alcohol by volume (when applicable), ingredients or allergens (when relevant), and the intended sample amount. Consistent labels reduce repeated questions and make it easier for guests to pace themselves. Use pour tools or pre-measured serving vessels when possible, especially when several people are serving.
Create A Tasting Flow That Feels Natural
Think through the guest journey from arrival to departure. Welcome guests, briefly explain the format, and show them where to find water, food, restrooms, and alcohol-free options. If the tasting is guided, allow a pause after each round. A few minutes for conversation, water, and food keeps the event from feeling like a race through the menu.
How To Arrange The Table
Set the stations in tasting order and make the route obvious. Keep guest-facing areas uncluttered, with sample pours, tasting cards, water, and a small pairing item in view. Store backup bottles, extra glassware, ice, and cleaning supplies behind the service area to keep the presentation orderly.
Place lighter selections at the beginning of the route.
Offer water at every station or at clearly marked refill points.
Separate clean glassware from used glassware.
Use large, high-contrast labels.
Leave room for guests to step aside without blocking service.
Food Pairings And Alcohol-Free Choices
Food supports both flavor exploration and a comfortable pace. Begin with mild items, such as bread, crackers, fruit, cheese, or lightly seasoned vegetables. Add richer pairings later for bolder samples. Avoid heavily spiced foods when guests are meant to notice subtle differences between beverages.
Alcohol-free choices should feel like part of the menu, not an afterthought. Sparkling water with citrus, unsweetened tea, botanical sodas, fruit-forward drinks, and zero-proof cocktails give guests meaningful options. Include these drinks on the same tasting card or menu so choosing not to drink alcohol feels ordinary and welcome.
Guest Safety And End-Of-Event Planning
Build safety measures into the event before anyone arrives. Do not pressure guests to drink, and avoid games or promotions that reward quick consumption. Check identification when required, follow venue and local rules, and make sure anyone serving understands when to pause or decline service. Policies related to age verification and responsible service can vary by location, and responsible beverage service training laws may apply to certain alcohol establishments.
The final hour deserves the same attention as the first pour. Share rideshare pickup details, public transit information, designated-driver plans, or a comfortable waiting area before guests need them. Stop alcohol service early enough to shift the focus toward dessert, coffee, water, conversation, and a calm departure.
Common Mistakes To Avoid
Offering so many samples that guests cannot remember what they tried.
Using vague labels or leaving ingredients unclear.
Forgetting water, food, trash containers, or used-glass collection.
Putting every beverage out at the same time.
Assuming every guest wants an alcoholic option.
Waiting until the event ends to consider transportation and cleanup.
A Simple Planning Timeline
Four weeks before: Set the goal, date, guest count, budget, and theme.
Two weeks before: Finalize drinks, food pairings, supplies, layout, and staffing.
One week before: Prepare tasting cards, labels, serving tools, and transportation notes.
Event day: Set up stations, chill beverages, stock water, and brief everyone who will be serving.
Afterward: Gather feedback and record what worked well for the next event.
Make The Event Easy To Enjoy
A memorable tasting event does not need an elaborate format. A focused menu, measured servings, good food, welcoming alternatives, and a clear departure plan can make guests feel considered from start to finish. When people have space to slow down, compare flavors, and join the conversation at their own pace, the event becomes more than a series of samples. It becomes a comfortable shared experience.