
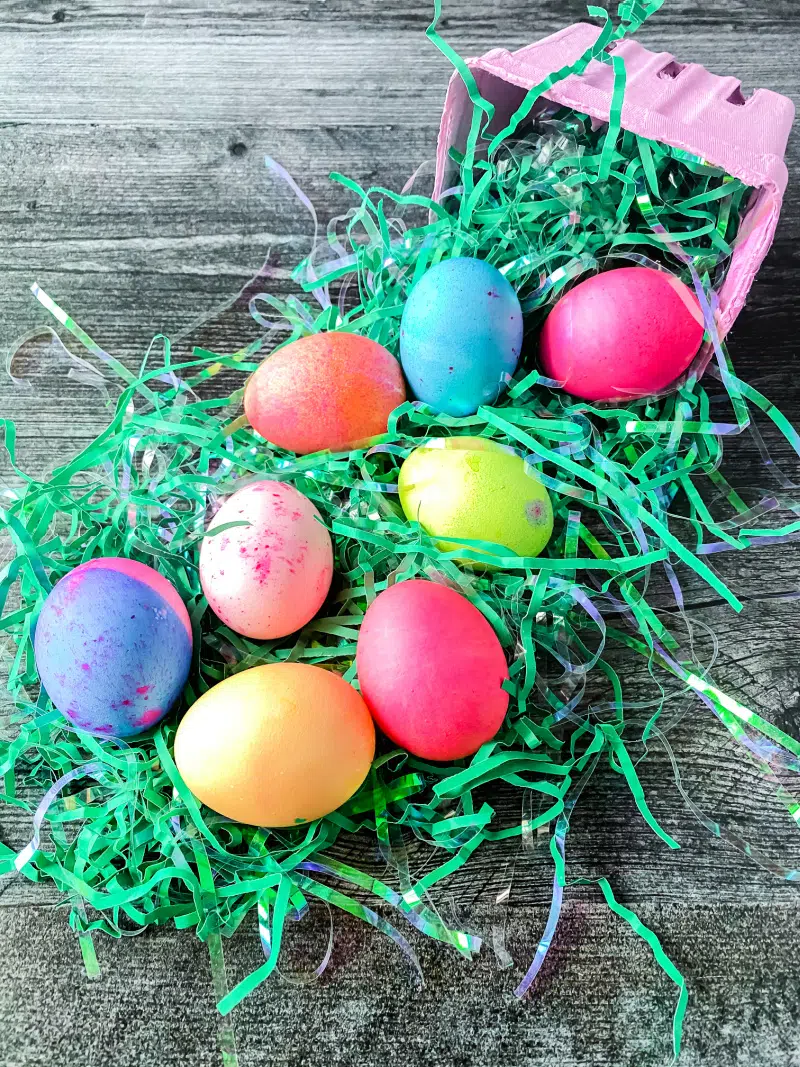
On Easter day serve beautiful Dyed Easter Eggs as part of your breakfast. This tutorial walks you through step-by-step on How to Dye Easter Eggs.
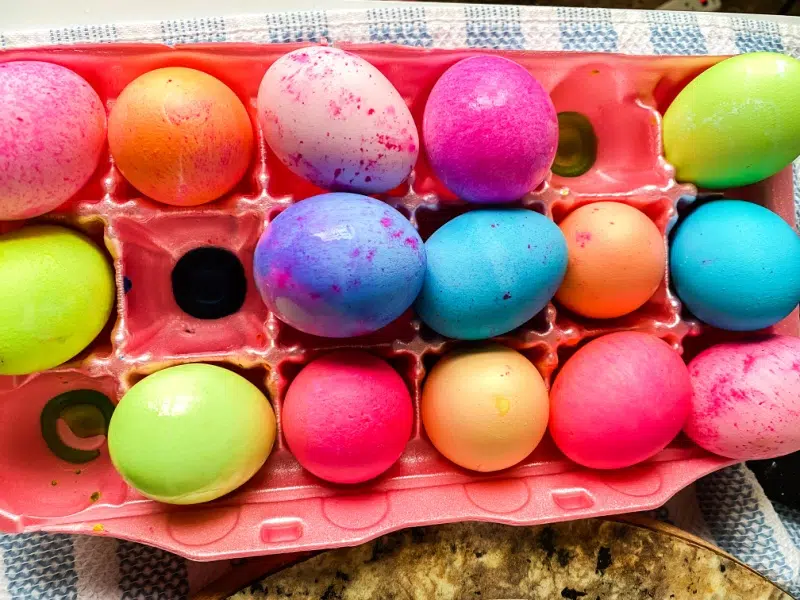
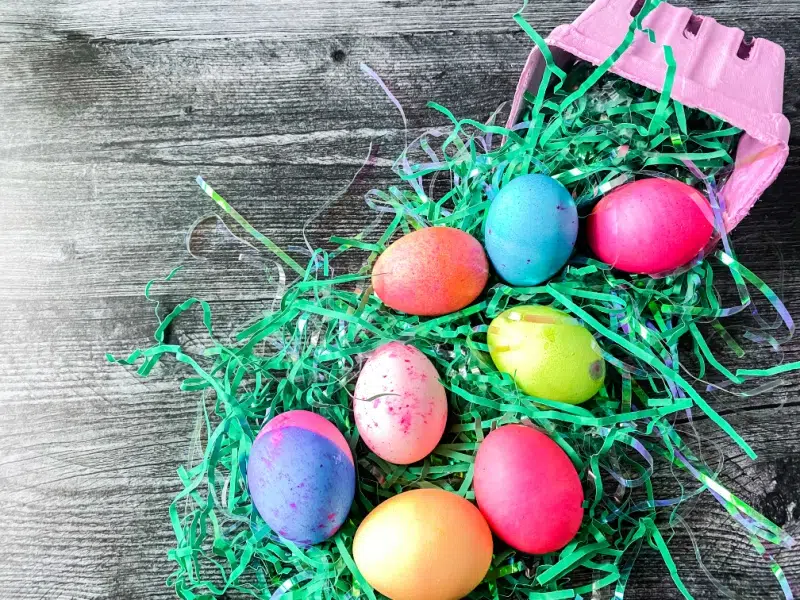
Colorful Easter eggs are the perfect way to start Easter day!
These Dyed Easter eggs are great for eating anytime over the Easter holidays. They are hardboiled eggs with colorful shells and they last up to 5 days in the refrigerator.


You can use these Easter eggs for decorating, breakfast, or for a quick snack.
There is no need to purchase an Easter egg dying kit.
This budget-friendly DIY Easter Egg dye tutorial shows you how to dye your eggs with only 3 ingredients that you usually already have at home.
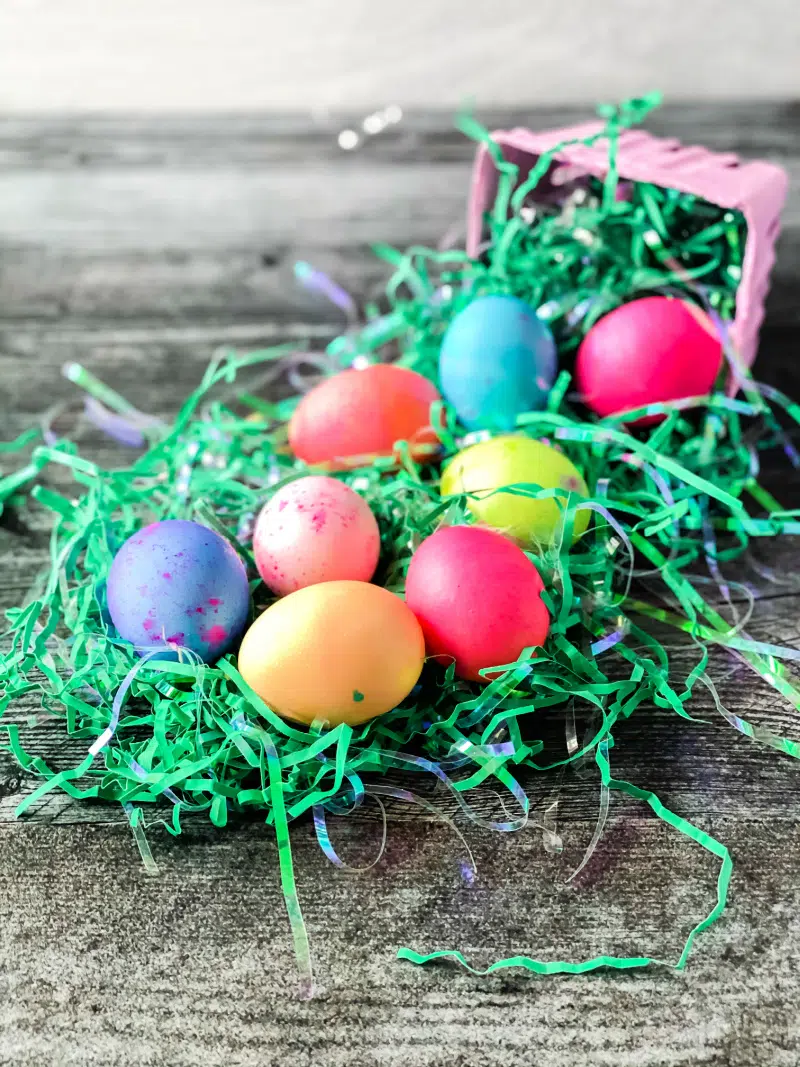
In less than an hour, you’ll have brightly colored eggs that are perfect for serving over Easter ready to enjoy!
HOW TO DYE EASTER EGGS
Boiled eggs are dipped into food dye mixed with vinegar to create vibrantly dyed hardboiled eggs that are perfect for enjoying on Easter morning for breakfast that the whole family will enjoy!
Are you ready to get started?
You’ll find the specific ingredient amounts and detailed instructions in the printable recipe at the bottom of this post.
KITCHEN TOOLS YOU MAY NEED
Disclosure: This blog post contains affiliate links for products or services we think you’ll like. This means if you make a purchase from one of these links, Kelly’s Thoughts On Things may make a small commission at no additional cost to you. We only recommend items we use and love.
- Measuring Spoons – I LOVE my set of these!
- Table Covering
- Plastic Cups or Bowls
- Paper Towels
- Tongs, Egg Dippers, or Slotted spoon
EASTER EGG DYE INGREDIENTS
This fun and easy Dyed Easter Egg recipe uses everyday kitchen staples to create a fun Easter treat your family will love.
All you need is:
- white vinegar
- food coloring (liquid or gel)
- some hard-boiled eggs that have been cooled
HOW TO DYE EASTER EGG INSTRUCTIONS
Begin by using already boiled eggs that have been cooled. See below for how to boil eggs.

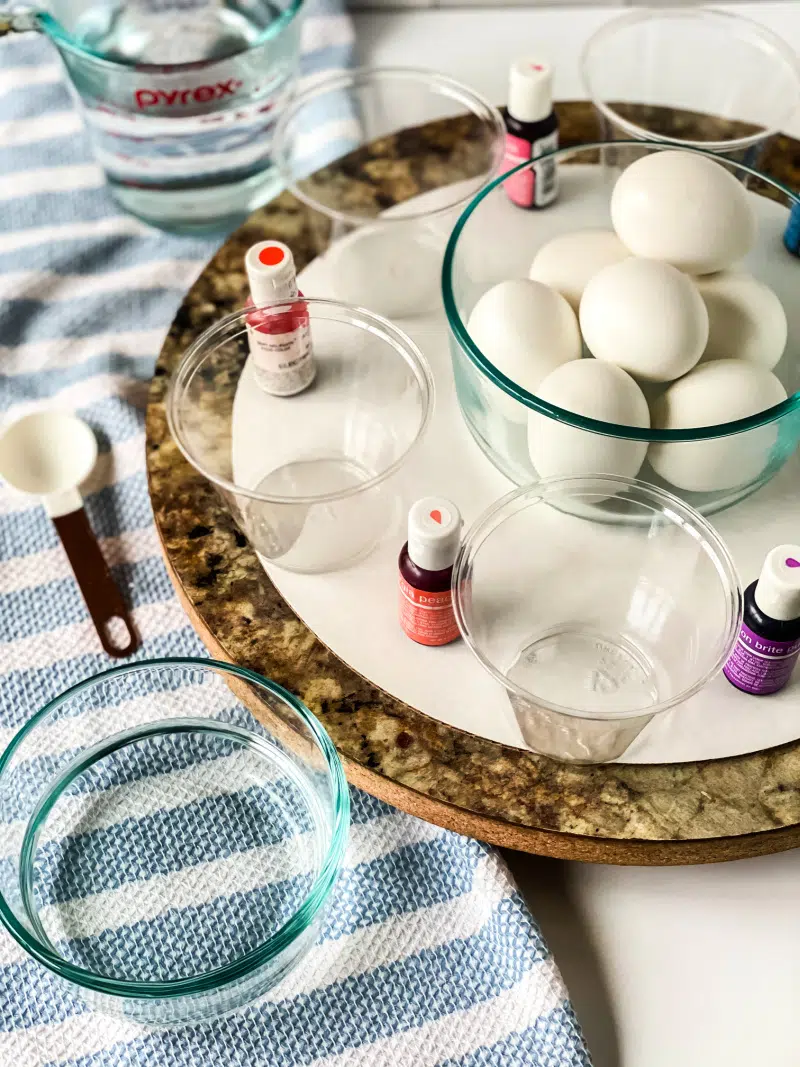
Take some bowls, cups, containers, etc, and fill with enough water to cover the egg.

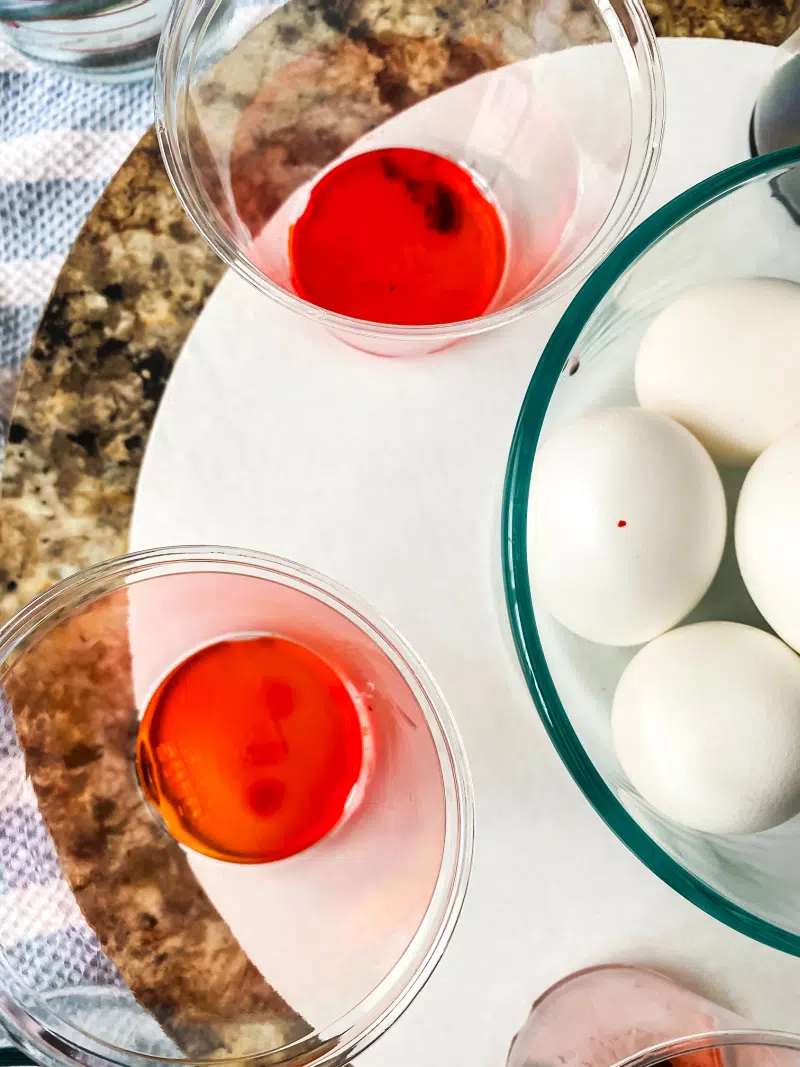
Next, add some white vinegar and food coloring drops to each container.


Place the egg on a slotted or regular spoon and dunk into the mixture, turning occasionally so both sides are colored.

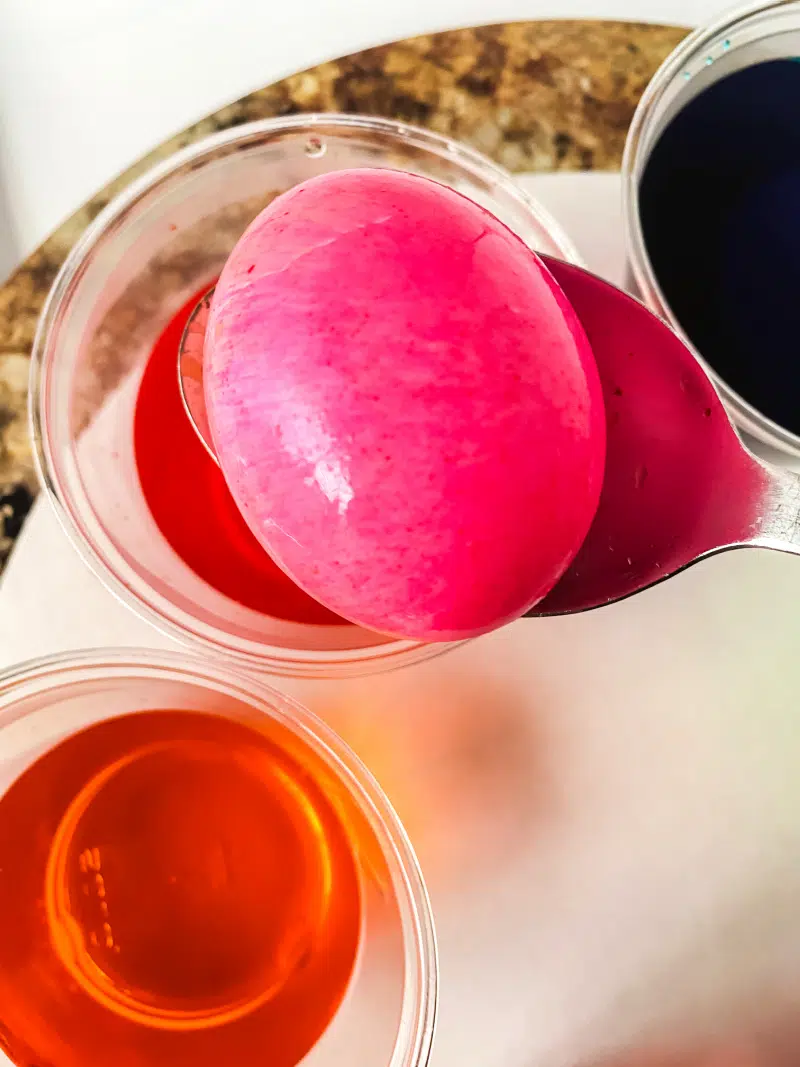
Keep the eggs in the liquid for a few minutes or longer for darker colors.


Place the eggs on a cooling tray to fully dry. It takes about 40 minutes for the eggs to dry.
In less than 1 hour, you’ll have a colorful Easter egg that is sure to become a new favorite each Easter!
DYING EASTER EGGS TIPS AND QUESTIONS
If you’ve never dyed your own Easter Eggs, don’t worry! Below are some common questions and helpful tips.
Hopefully, this will answer any questions you may have.
If not, feel free to ask in the comments and I’ll answer the best I can.
HOW LONG DOES IT REALLY TAKE TO DYE EASTER EGGS?
This Dyed Easter Egg recipe takes approximately 49 minutes. TOTAL.
This includes:
- About 1 minute to fill containers with water
- Close to 3 minutes to add vinegar and food dye to each container
- Around 5 minutes to soak the eggs in the food colors
- 40 minutes to allow the eggs to dry


HOW DO I STORE DYED EASTER EGGS?
You can store Dyed Easter Eggs in an airtight container in your refrigerator for 5 days.
Simply peel the eggs when ready to eat and you’ll have an Easter boiled egg.
HOW TO MAKE HARD BOILED EGGS IN THE OVEN
Preheat the oven to 325 degrees. P
lace one egg in each cup of a muffin tin, then carefully pour water into each cup until it is full to the brim.
Bake for 30 mins.
Immediately remove the eggs from the muffin tins, to stop the cooking process.
To stop the eggs from continuing to cook, place the eggs into an ice bath for five minutes.
Some brown spots may appear on the shell, the eggs will be fine.

HOW TO MAKE HARD BOILED EGGS ON THE STOVETOP
Place the eggs in a pot and cover them with cold water. Add in 1 tablespoon or more of salt (depending on the number of eggs).
Bring the water to a boil.
Boil for 8-10 mins, for a creamy yolk or turn off the heat and let them sit in the hot water an additional 3-5 mins for a paler and opaque color often used for deviled eggs.
Move the eggs to an ice bath to stop the cooking process.
Let the eggs sit for 5-6 mins if serving immediately.
HOW FAR AHEAD CAN I MAKE DYED EASTER EGGS?
Yes, you can easily make Dyed Easter Eggs 5 days ahead of Easter.
Simply keep the dyed eggs in your refrigerator until ready to eat.


WHAT GOES WELL WITH DYED EASTER EGGS?
Dyed Easter Eggs go well with a wide variety of Easter decorations and recipes. These crafts and recipes would be great to make over Easter.
Some of my personal favorites include:
- Homemade Peeps Marshmallows
- Twine Wrapped Plastic Eggs
- Easter Egg Cocoa Bombs
- Basket Weave Cake
- Cadbury Creme Egg Fudge
HOW MUCH LIQUID FOOD DYE WILL I NEED TO DYE EASTER EGGS?
You need to use about 20 drops of liquid food dye to make each color for the Easter eggs.
HOW MUCH GEL FOOD DYE WILL I NEED TO DYE EASTER EGGS?
You need to use about 1 to 3 drops of gel food dye to make each color for the Easter eggs.
Since the color of gel food dye is more intense you need less of it.
WHAT ELSE CAN I ADD TO THIS DYED EASTER EGG TUTORIAL?
This simple Dyed Easter Egg tutorial not only makes beautiful eggs, but it’s also incredibly versatile.
Try tying strings around the eggs when dying the eggs to create a cool look.
Once the eggs are dry, cut off the string.

DYED EASTER EGGS RECIPE
How to Dye Easter Eggs

On Easter day serve beautiful Dyed Easter Eggs as part of your breakfast. This tutorial walks you through step-by-step on How to Dye Easter Eggs. Colorful Easter eggs are the perfect way to start Easter day!
Materials
- white vinegar
- food coloring (liquid or gel)
- some hard-boiled eggs that have been cooled
Tools
- Measuring Spoons
- Table Covering
- Plastic Cups or Bowls
- Paper Towels
- Tongs, Egg Dippers, or Slotted spoon
Instructions
- Fill cups, bowls or containers with the enough water to cover the egg, 1 teaspoon of white vinegar and food coloring.
- Place the egg on a slotted or regular spoon and dunk into the mixture, turning occasionally so both sides are colored.
- Keep in the liquid up to 5 mins or longer for darker colors.
- Carefully remove the egg and set it aside to dry
How to Make Hard Boiled Eggs In the oven:
- Preheat the oven to 325 degrees.
- Place one egg in each cup of a muffin tin, then carefully pour water
- into each cup until it is full to the brim.
- Cook for 30 mins.
- Immediately remove them from the tins, to stop the cooking process.
- Place eggs into an ice bath for five minutes.
- Some brown spots may appear on the shell, the eggs will be fine.
- Peel, Dye or prepare as desired.
On the Stove Top:
- Place the eggs in a pot and cover them with cold water.
- Add in 1 tablespoon or more of salt (depending on the number of eggs)
- Bring to a boil.
- Boil for 8-10 mins, remove now for creamy yolk or;
- Turn off the heat and let them sit in the hot water an additional 3-5 mins for a paler and opaque color often used for deviled eggs.
- Move eggs to an ice bath to stop the cooking process.
- Let sit 5-6 mins if serving immediately.
- Let sit 10 mins if using later on.
Notes
The key to properly dyed eggs is taking your time throughout this process. Cover your work surface with towels or newspapers to protect them being stained. Each color will need enough boiling water to cover the egg completely once submerged. Using liquid colors will require up to 20 drops, using gel colors requires 1-3 drops depending on depth of color.
Extra Notes:
Adding salt to the water prior to boiling helps remove the shell without it breaking into a lot of pieces.Using an ice bath can help prevent the greenish color around the yolk that over cooked hard-boiled eggs sometimes present.
Storage:
Peeled or unpeeled eggs will keep in a fridge for up to 5 days. If unpeeled, keep in an airtight container
Ludmila
Wednesday 7th of April 2021
I have dyed Easter Eggs since childhood and am always looking for new ideas. At the moment I paint all of the eggs one colour and then coat them in olive oil twice so that the colour pops.