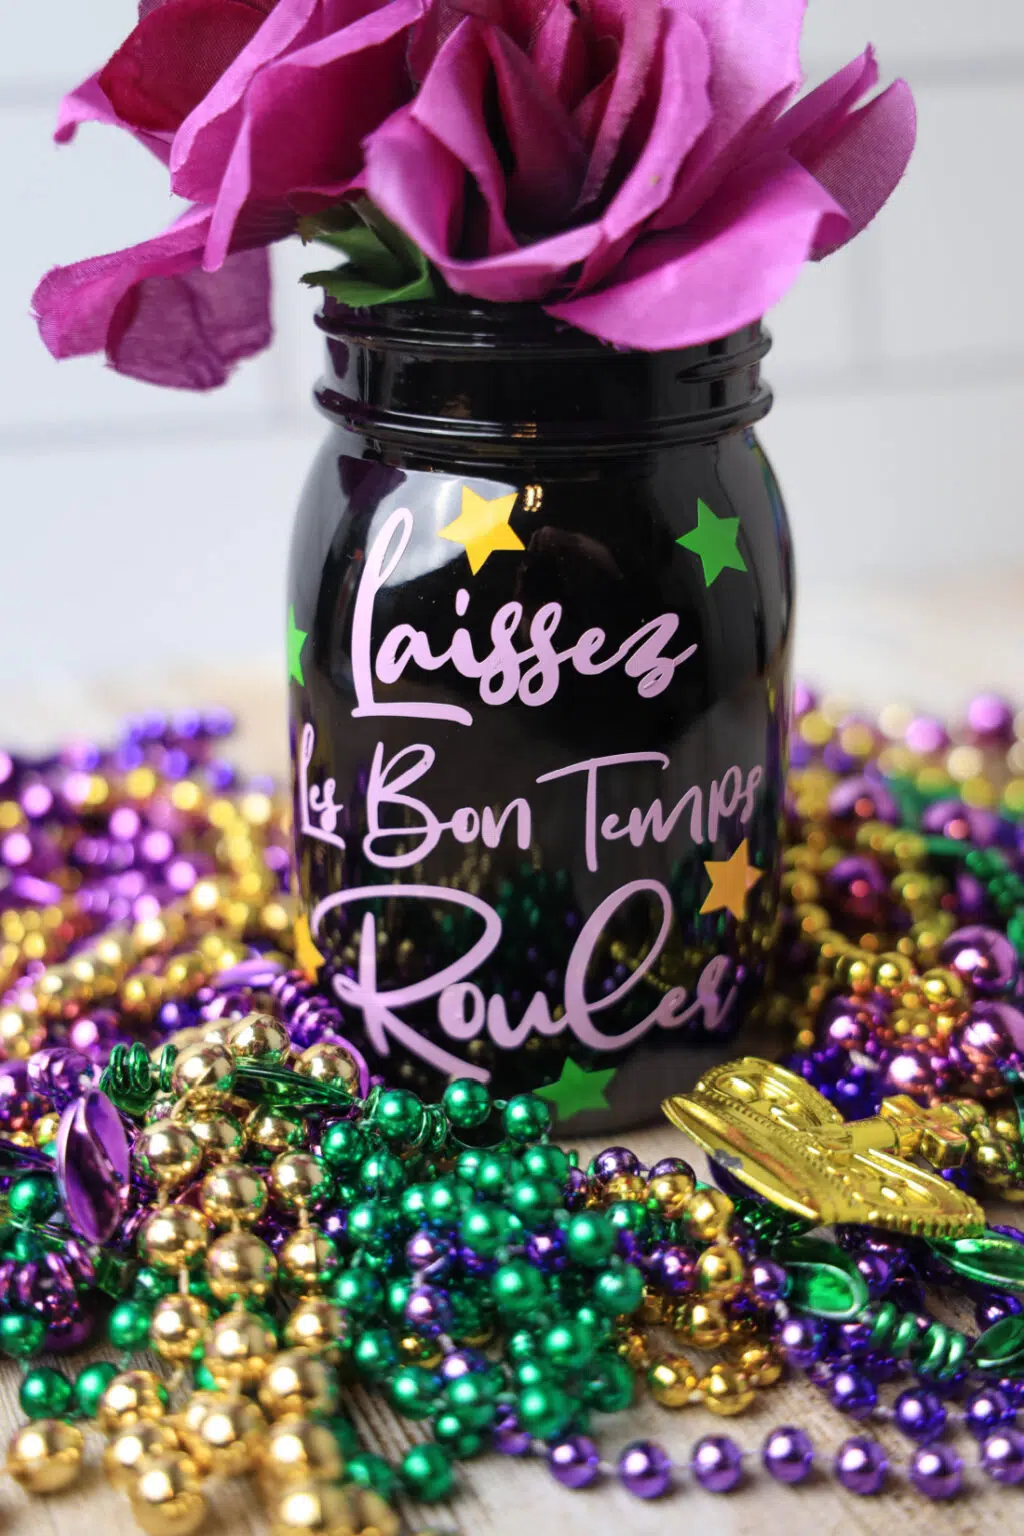
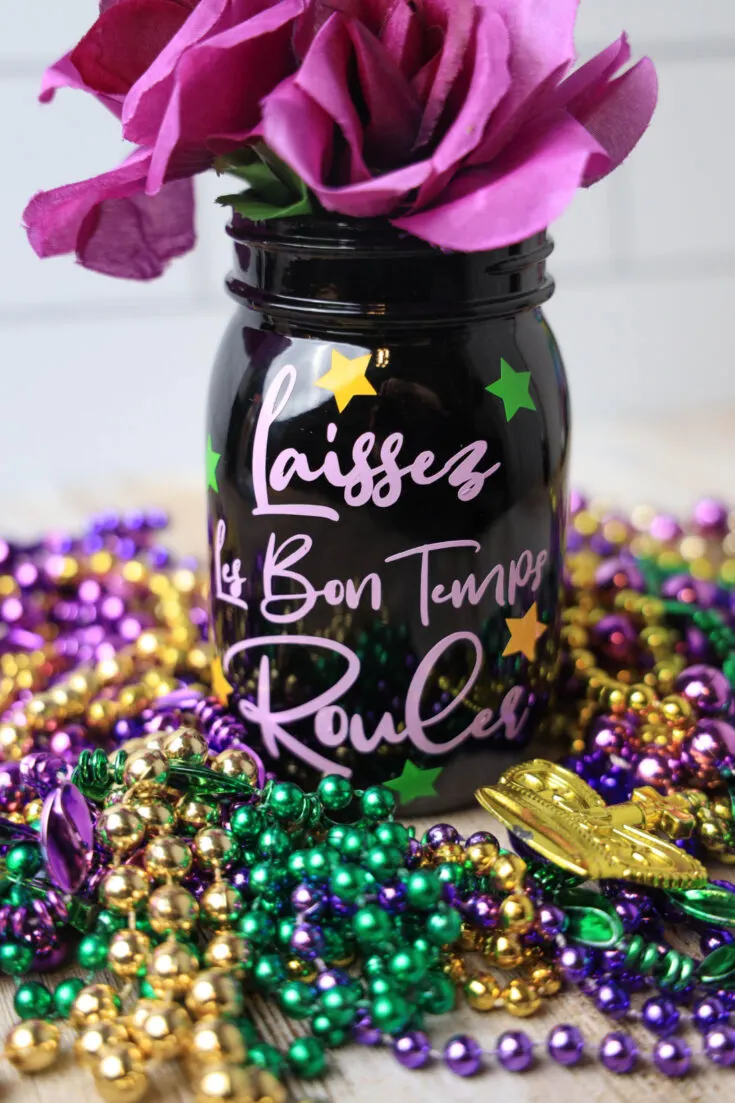
Mardi Gras is all about vibrant colors, festive decor, and a little bit of DIY magic! If you’re looking for an easy and eye-catching way to bring the celebration into your home, this Mardi Gras Mason Jar Tutorial is just what you need. With a black mason jar, vinyl designs in traditional purple, green, and gold, and a few crafting tools, you can create a stunning piece of decor perfect for the season.

Whether you’re decorating for a party, adding a festive touch to your home, or looking for a fun DIY project, this tutorial has you covered.
It’s beginner-friendly, budget-conscious, and offers plenty of room for customization. Let’s get started!

Why You’ll Love This Mardi Gras Mason Jar DIY
- Easy to Make: Even if you’re new to Cricut or vinyl crafts, this tutorial walks you through every step.
- Customizable: Adjust colors, shapes, or flowers to match your personal Mardi Gras aesthetic.
- Budget-Friendly: Uses affordable materials, many of which can be found at Dollar Tree or craft stores.
- Perfect for Decor or Gifting: Display it on your table, mantle, or gift it to a Mardi Gras-loving friend.
- Great for All Ages: This is a fun and engaging craft for adults and kids alike, making it an ideal project for family bonding.
- Seasonal Charm: This DIY allows you to bring the excitement of Mardi Gras into your home without the need for a full-blown party.
Materials Needed For Mardi Gras Mason Jar Tutorial

To get started on your Mardi Gras Mason Jar craft, gather the following supplies:
- black mason jar
- lavender Oracal 651 vinyl
- green Oracal 651 vinyl
- yellow Oracal 651 vinyl
- transfer tape (clear contact paper from Dollar Tree works great!)
- Cricut Machine
- Green Cutting Mat
- Scraper Tool
- Weeding Tool
- Choice of Flowers (purple, green, and gold blooms add the perfect festive touch!)
- SVG File (This is the design file for your Cricut machine.)
Step-by-Step Instructions
Step 1: Set Up Your Design in Cricut Design Space

Open Cricut Design Space and upload your SVG file.
Resize the design to fit your mason jar. If your jar measures about 3″ wide, adjust the design accordingly.

Place the lavender vinyl onto the green cutting mat.
Set the Cricut to the vinyl cut setting and cut the design.

Weed out the excess vinyl carefully using the weeding tool.
Step 2: Transfer the Design to the Mason Jar

Cut a piece of transfer tape slightly larger than your design.
Place the transfer tape over the weeded vinyl design.
Use the scraper tool to press down and ensure the vinyl sticks to the transfer tape.
Slowly peel back the transfer tape, making sure the vinyl sticks to it.

Position the transfer tape with the design onto the mason jar and press it down firmly.
Scrape over the design again, then slowly peel back the transfer tape, leaving the vinyl design on the jar.
Step 3: Add Decorative Stars

Use the shape tool in Cricut Design Space to create three stars.

Cut the stars out using the green vinyl on the green cutting mat.

Repeat the process with the yellow vinyl to get two different colors of stars.
Weed the stars and place them onto the jar manually—no transfer tape needed.
Step 4: Add Flowers and Display
- Choose festive flowers in Mardi Gras colors (purple, green, and gold).
- Place them into the jar for a finishing touch.
- Display your Mardi Gras Mason Jar as a centerpiece, on a mantle, or as part of your seasonal decor.
- Consider tying a purple, green, or gold ribbon around the top of the jar for an extra festive touch.

Tips for the Best Mardi Gras Mason Jar Craft
- Use a Matte or Glossy Jar: A black matte mason jar gives an elegant touch, while a glossy one adds shine.
- Press Vinyl Firmly: Ensuring a smooth application is key to long-lasting decor.
- Experiment with Different Designs: If you want extra flair, try adding masks, beads, or Fleur-de-lis shapes.
- Add LED Fairy Lights: For a glow effect, insert battery-operated fairy lights inside the jar.
- Use Different Jar Sizes: If you have multiple jars, create a whole set for an eye-catching display.
- Make It a Party Activity: Set up a crafting station for your Mardi Gras gathering where guests can decorate their own jars.

Frequently Asked Questions
Can I use a different type of jar?
Absolutely! Any glass jar will work. If using a clear jar, consider painting it black for a true Mardi Gras effect.
Can I make this without a Cricut machine?
Yes! You can use Mardi Gras-themed stickers or hand-paint designs instead.
Where can I find the SVG file?
There are plenty of free Mardi Gras SVG files available online, or you can create your own in Cricut Design Space.
How long does this project take?
It should take about 30 minutes from start to finish, making it a quick and fun craft!
This Mardi Gras Mason Jar Tutorial is an easy, fun, and creative way to bring a little New Orleans magic into your home. Whether you’re throwing a party, decorating for the season, or just love crafting, this DIY is a must-try! Grab your supplies, fire up your Cricut, and let the good times roll!

Mardi Gras Mason Jar Tutorial
Mardi Gras Mason Jar Tutorial

Materials
- 1 black mason jar
- 12x12 sheet lavendar oracal 651
- 12x12 sheet green oracal 651
- 12x12 sheet yellow oracal 651
- 1 sheet transfer tape (I use clear contact paper from Dollar Tree)
- Cricut Machine
- Green Cutting Mat
- Scraper Tool
- Weeding Tool
- Choice of Flowers
- SVG File
Tools
- Cricut
Instructions
- Open cricut design space. Upload the SVG file and open it. Set it to the size of the jar your using. My jar measured 3" wide so I went with that.
- Place the light purple vinyl onto the green mat. Set the cricut to the vinyl cut setting. Cut vinyl. Weed design.
- Using tranfer tape place some over the top of the weeded vinyl design. Scrape with the scraper tool and then peel back slowly making sure the design sticks to the transfer tape. Place the transfer tape to the jar and scrape well. Peel back slowly making sure the design sticks to the jar.
- Using the shape tool in cricut make three stars. Cut them on vinyl setting. First with the green vinyl on the green cutting mat then with the yellow vinyl on the green cutting mat. Weed the stars. Peel and place where you would like them on the jar. No need to use transfer tape.
- Place a flower or flowers into the jar and display.