Do you want to have a spooky Halloween party? You can also enjoy the holiday season with your whole family. I’m going to show you how to make ghost tea bags that are perfect for this time of year! It’s not hard at all, and will be so much fun!
Turn ordinary tea bags into Ghost Tea Bags that float through the air. Tea bags that are used for tea are turned into mini ghosts and then lit on fire to float through the air.
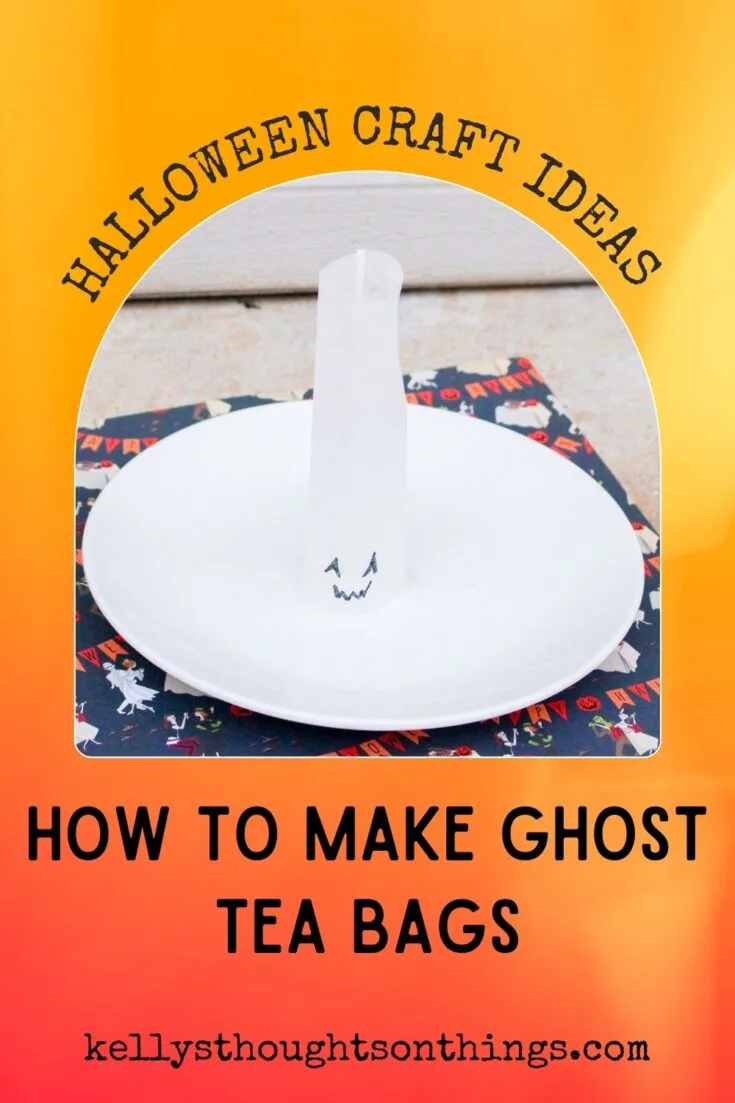
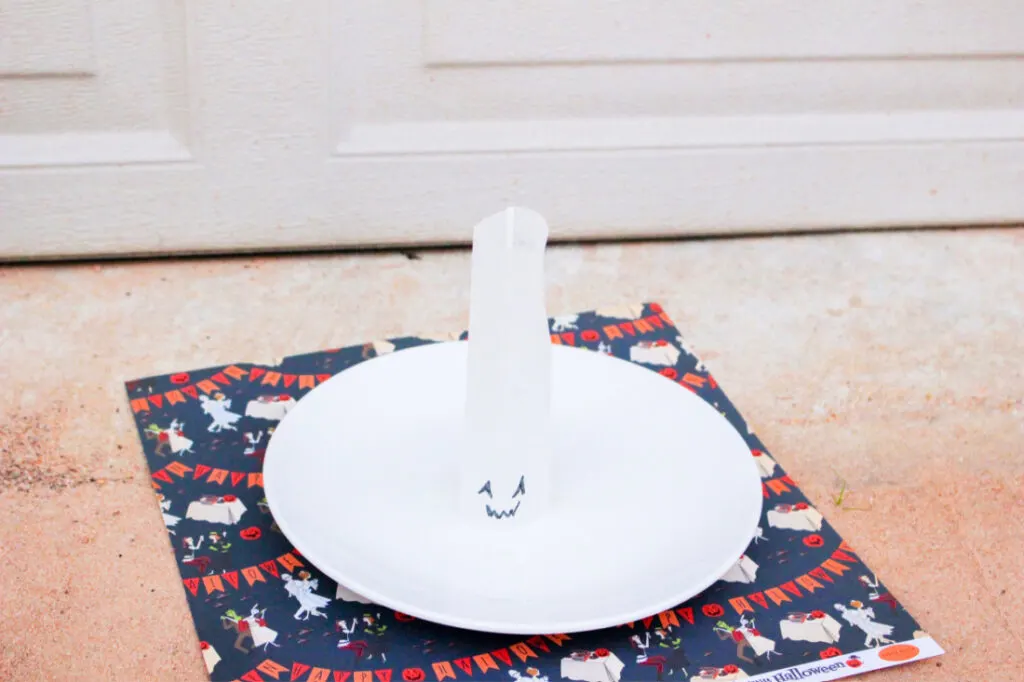
Your children will be amazed as they watch the Ghost Bags suddenly lift up and start floating through the air. This craft only takes a few minutes to prepare.
The kids will love drawing ghost faces on all of the tea bags.
This budget-friendly Halloween craft is easy to make. Kids of all ages can help to make this craft.
You can make as many tea bag ghosts as you want.
Each tea bag ghost only requires one tea bag to create a ghost that magically floats through the air.
In a few minutes, you’ll have ghosts that float in the air!
HOW TO MAKE GHOST TEA BAGS
Tea bags are emptied and turned into ghosts by drawing ghost faces on them and then lit on fire to float in the air for a fun Halloween craft the whole family will enjoy!
Are you ready to get started?
You’ll find the specific material amounts and detailed instructions in the printable craft at the bottom of this post.
TOOLS YOU MAY NEED
Disclosure: This blog post contains affiliate links for products or services we think you’ll like. This means if you make a purchase from one of these links, Kelly’s Thoughts On Things may make a small commission at no additional cost to you. We only recommend items we use and love.
GHOST TEA BAG MATERIALS
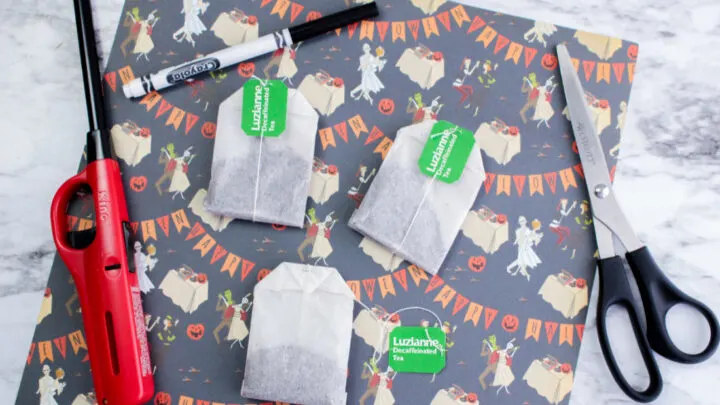
These Ghost Tea Bags use easy-to-find materials to create a spooky ghost your family will love.
All you need is:
- some flat tea bags
- non-flammable surface
GHOST TEA BAG CRAFT INSTRUCTIONS
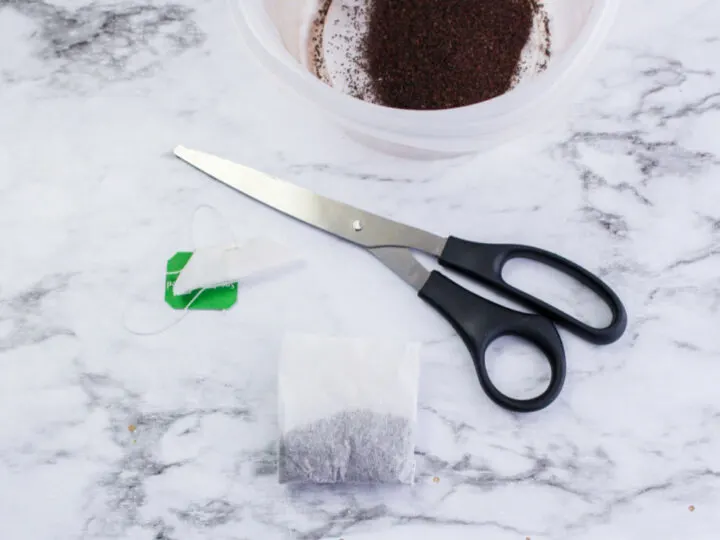
Begin by cutting the top from the tea bag, creating a straight edge.
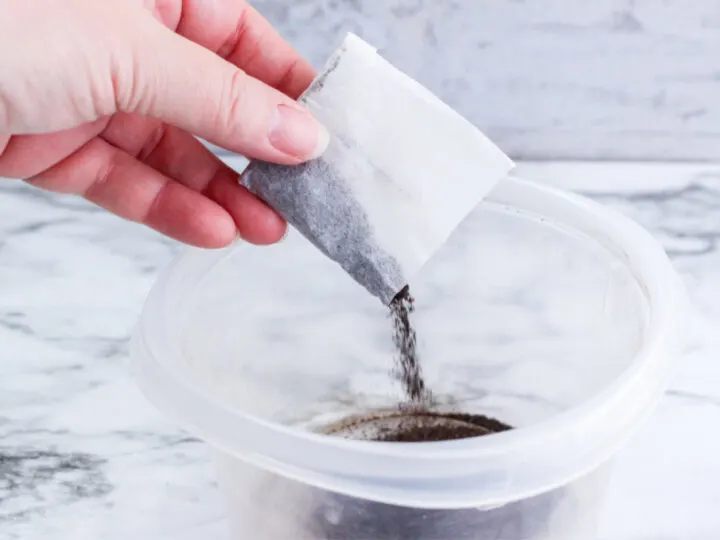
Unfold the tea bag and empty the contents and discard the contents or save and use to make tea.
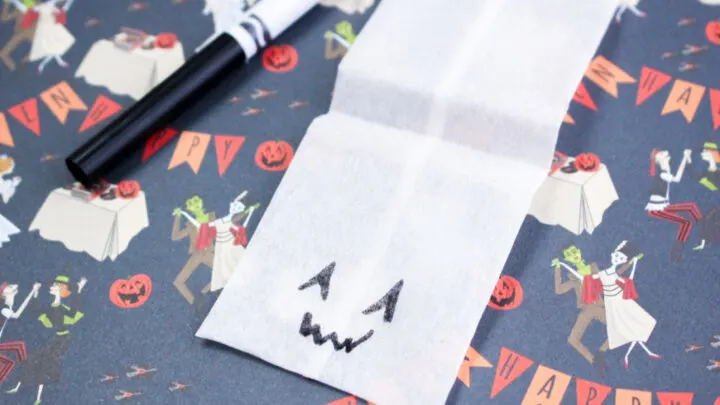
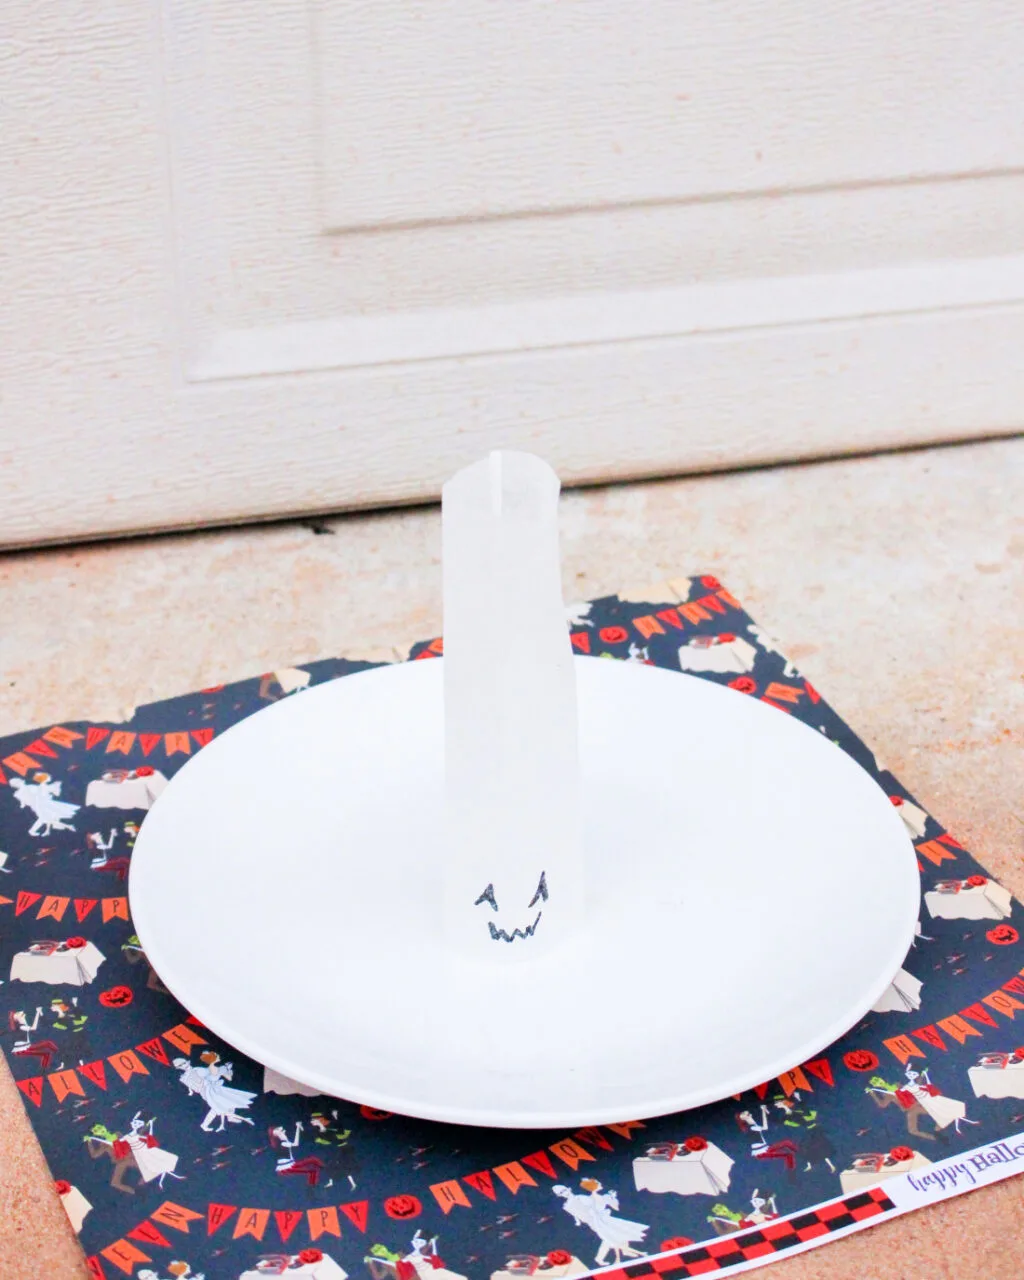
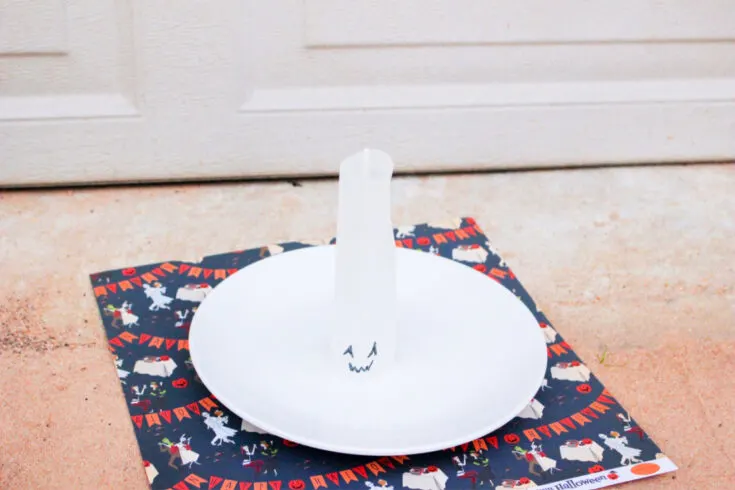
Using a marker, draw a face towards the bottom of the tea bag.
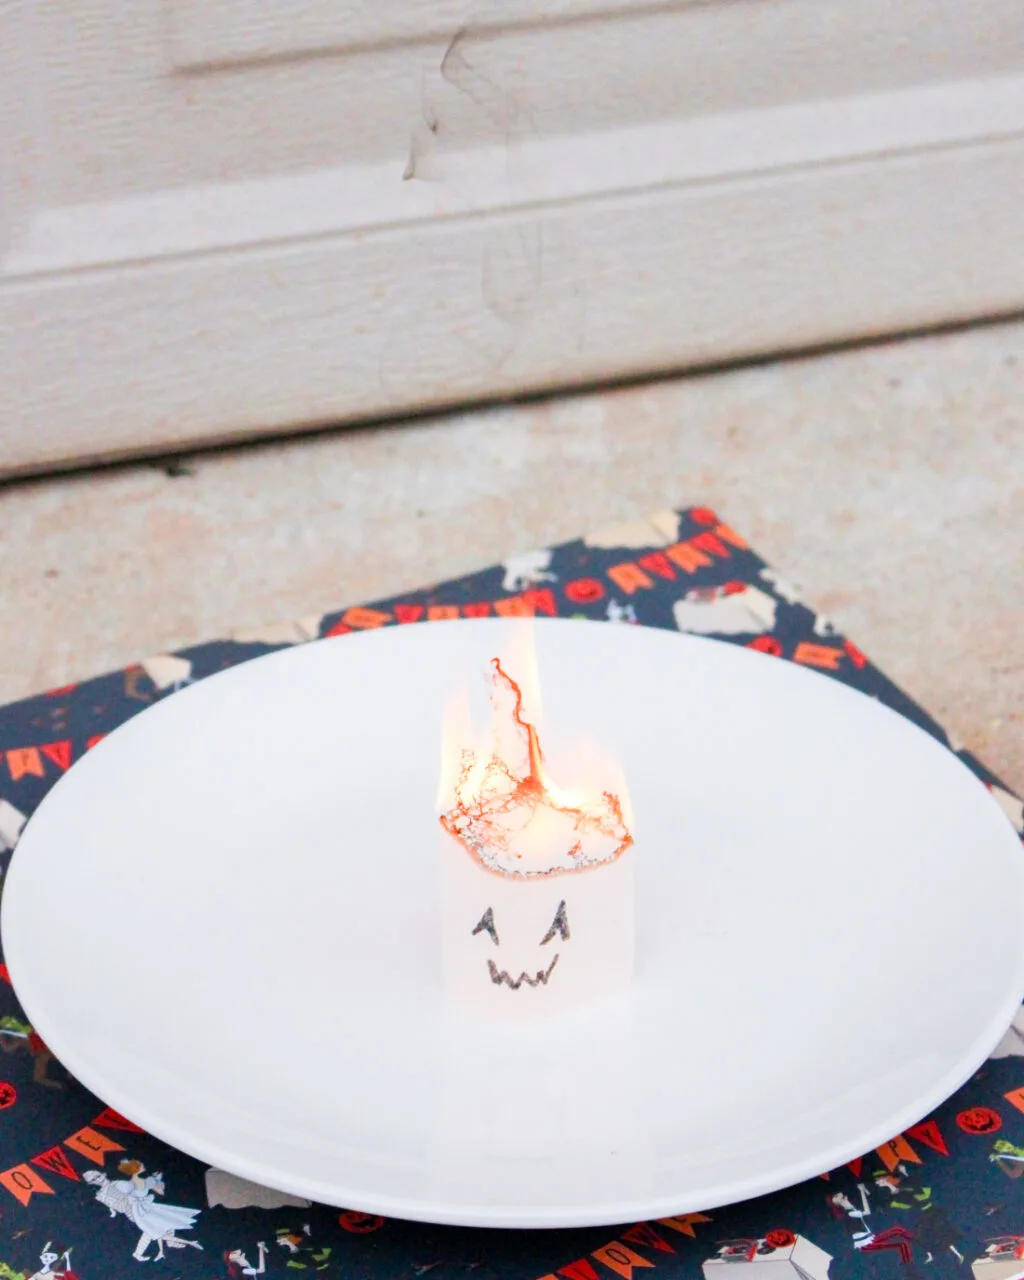
Shape the tea bag into a cylinder and stand it on the non-flammable surface in a draft-free location.
Light the top of the tea bag on fire.
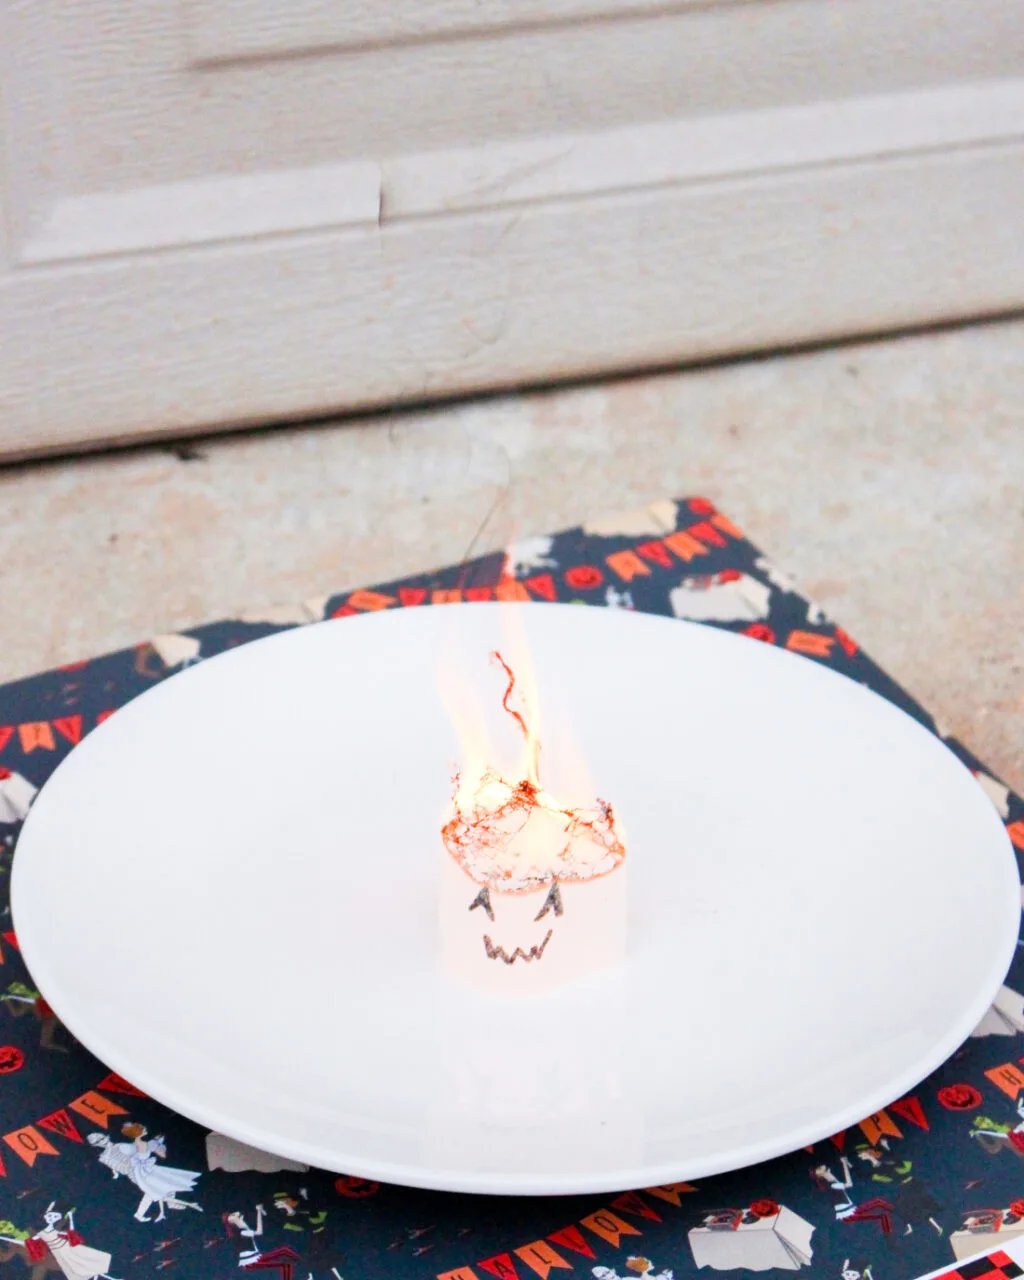
As the tea bag burns, the air density on the inside of the tea bag will change, resulting in a lift of the final pieces.
Be aware that some tea bags lift higher and faster than others.
Some may burn all the way down before blowing.
The humidity in the air may also change the flight of the tea bag.
In a few minutes, you’ll have ghosts that float in the air!
GHOST TEA BAG TIPS AND QUESTIONS
If you’ve never made crafts using tea bags before, don’t worry! Below are some common questions and helpful tips.
Hopefully, this will answer any questions you may have. If not, feel free to ask in the comments and I’ll answer the best I can.
HOW LONG DOES IT REALLY TAKE TO MAKE THESE TEA BAGS?
This Ghost Tea Bag craft takes approximately 3 minutes. TOTAL. This includes:
- About 1 minute to cut open the tea bag
- Close to 1 minute to dump out the contents
- Around 1 minute to light the tea bag on fire
CAN KIDS MAKE THIS CRAFT?
Since this craft involves using fire I suggest that you let the kids watch an adult light the tea bags.
Kids that are old enough can use scissors to cut the tea bags open.
Younger kids can help dump the contents of the tea bags into a bowl and draw the ghost faces on the tea bags.
CAN I USE ANY KIND OF TEA BAG?
No, you should only use tea bags that are flat. They will work the best for this simple Halloween craft.
CAN I USE USED TEA BAGS TO MAKE THIS CRAFT?
I have only tried this craft with brand new tea bags that have never been used. You can try reusing tea bags after making tea to make this craft.
Make sure the tea bags are completely dry.
If you are concerned about wasting the tea that is in the tea bags you can use a loose tea infuser to hold the tea in your mug.
CAN I USE ANY KIND OF MARKER TO MAKE THIS CRAFT?
Yes, you can use any kind of marker to make this craft. I used a black permanent marker but you can use regular markers, pens, pencil crayons, etc.
You can use anything you want to draw the face of the ghost onto the tea bags.
WHAT CRAFTS GO WELL WITH THESE TEA BAGS?
Ghost Bags go well with a wide variety of Halloween crafts. These crafts would be fun to make.
Some of my personal favorites include:
- Halloween Bucket
- Halloween Candy Wreath
- Dollar Store Book Pumpkin
- Cricut All Over Spider Jars
- Monster Pots
WHAT ELSE CAN I ADD TO THESE TEA BAGS?
These fun Halloween Ghost Tea Bags not only looks great, but it’s also incredibly versatile.
Try drawing on different ghost faces on each tea bag.
GHOST TEA BAG CRAFT
How To Make Ghost Tea Bags Craft
Turn ordinary tea bags into Ghost Tea Bags that float through the air. Tea bags that are used for tea are turned into mini ghosts and then lit on fire to float through the air.
Materials
- some flat tea bags
- non-flammable surface
Tools
- Black permanent markers
- Lighter
- Scissors
Instructions
- Begin by cutting the top from the tea bag, creating a straight edge.
- Unfold the tea bag and empty the contents and discard the contents or save and use to make tea.
- Using a marker, draw a face towards the bottom of the tea bag.
- Shape the tea bag into a cylinder and stand it on the non-flammable surface in a draft-free location.
- Light the top of the tea bag on fire. As the tea bag burns, the air density on the inside of the tea bag will change, resulting in a lift of the final pieces.
- Be aware that some tea bags lift higher and faster than others.
- Some may burn all the way down before blowing.
How cool is that? You can now turn any old tea bag into a floating ghost! The process of creating these little ghosts is super easy, and it’s really fun to watch them float through the air.
All you need are some empty tea bags, scissors, markers or paint pens, and matches.
If you’re feeling crafty enough to try this out with your kids (or just want an excuse for more creative time), we highly recommend giving these a shot!
WHAT’S NEXT
I hope you enjoy this simple Halloween craft as much as my family does!