
Let there be wood, they said.
And so you obliged. But no one mentioned the dulling!
While the wooden flooring adds to your home’s charm, a loss in shine calls for an annual floor polish!
But don’t worry. It’s not as tedious as it sounds.
All you need is a broom, a polisher, cleaner or dish soap, a flathead mop, and a sponge mop.
Here is a basic tip to begin with:
Tip #1: Routine Maintenance To Keep The Floor In Good Shape
Before you get started on the polishing, make sure that you have mats near entrances/exits, and below sinks or water purification systems.
This will ensure a lot of dirt to be collected in the mats.
Prevent the trash from coming in contact with the flooring to keep your floor spick and span.
Pick from the best floor scrubbers for regular cleaning and vacuuming, and the shine will last longer.
Once you realize that a coat of polish is required, prepare yourself. Fun times are coming.
Tip #2: Check If Your Floor has A Penetrating Or A Surface Finish
It’s common not to be able to tell one from the other.
This piece of detail is important to check since floors with penetrating finishes should be ideally waxed.
Also, once you polish your entire floor, there’s no going back.
You might as well do your research and then go ahead with the polishing plan. Scrape a sample from your flooring.
You will be able to tell that your floor sample is a penetrating finish if it is smudged and not clear.
Whereas, a clear finish is likely to be a floor surface finish.
This means that it is safe to go ahead and polish the floors.
Consult with an expert if you need help in figuring this out.
Tip #3: Remove The Contaminants
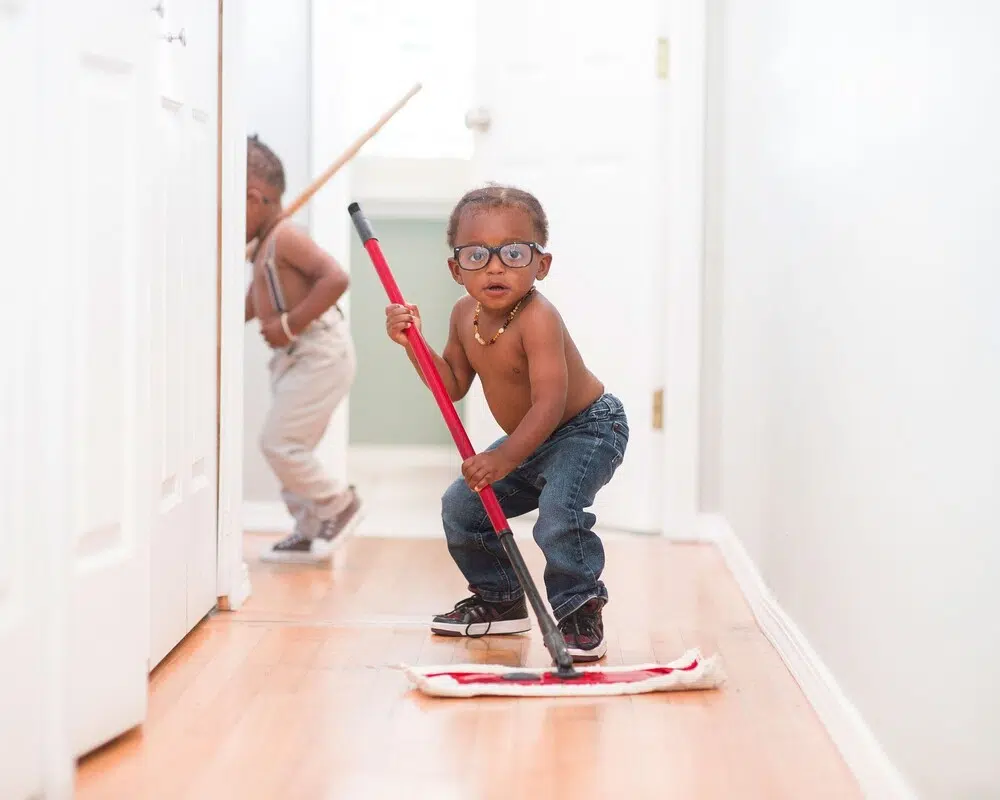
It’s time to take out the mops. People with families might need some help from others.
Get the little ones to help you out with sweeping the floors.
Then get rid of all hidden dirt and garbage.
Before going ahead with mopping, vacuuming the floor will also help.
An effective way of mopping is to use some dish soap.
After this, use a clean mop to wipe out the remaining filth from the floor.
It can be a long and tedious process, especially if you have a large wooden flooring area, but it’s worth it.
Tip #4: Polish, Polish, And Polish!
Remember soldiers: The goal of this floor attack is to see them shine.
It’s going to be a painstaking task requiring the coordination of all the members at home (It’s playtime, even for the adults).
The result will be nothing short of a miracle.
A hack is to take your floor polishers and begin from the corner of the room and eventually end up at the entrance.
Smoothen the air bubbles every time you see them and continue the back and forth movement across the room.
You can work in smaller areas of a few feet, depending on your preference.
Tip #5: Restricting Movement
After your final coat is applied, you want to leave the room to dry.
Any traffic in the room will disturb the coating.
After you let the coat settle for a few hours, you can move around the room.
However, wait for an entire day before you adjust or move any stuff around.
Shifting your couches or tables is not a good idea as they might leave scratches and scrape the polish off.
Instead, take the day off and go outdoors to celebrate your effort while the polish settles in.
Wait for a day before you can resume any activity.
Conclusion
Congratulations, you have done it!
Unless your floor receives regular servicing and maintenance, it won’t look its best.
SO keep at it.
Let your floor shine and last long!