
Why settle for a single hue when you can color your world with the ombre manicure designs that can quickly transform your look from ordinary to extraordinary?
While ombre has been hugely popular in hair and fashion, its playful gradation of tones – from shadow to light – is also tastefully altering nails.
Every fashion-conscious lady understands that dressing from head to toe necessitates paying great attention to every detail.
Your nails are a vital part of presenting a fashionable impression.
So, instead of a regular base coat, go for stunning nails with a one-of-a-kind, creative twist.
However, mastering the ombre look might take time and effort.
We have created a step-by-step guide to help you paint your ombre nails perfectly.

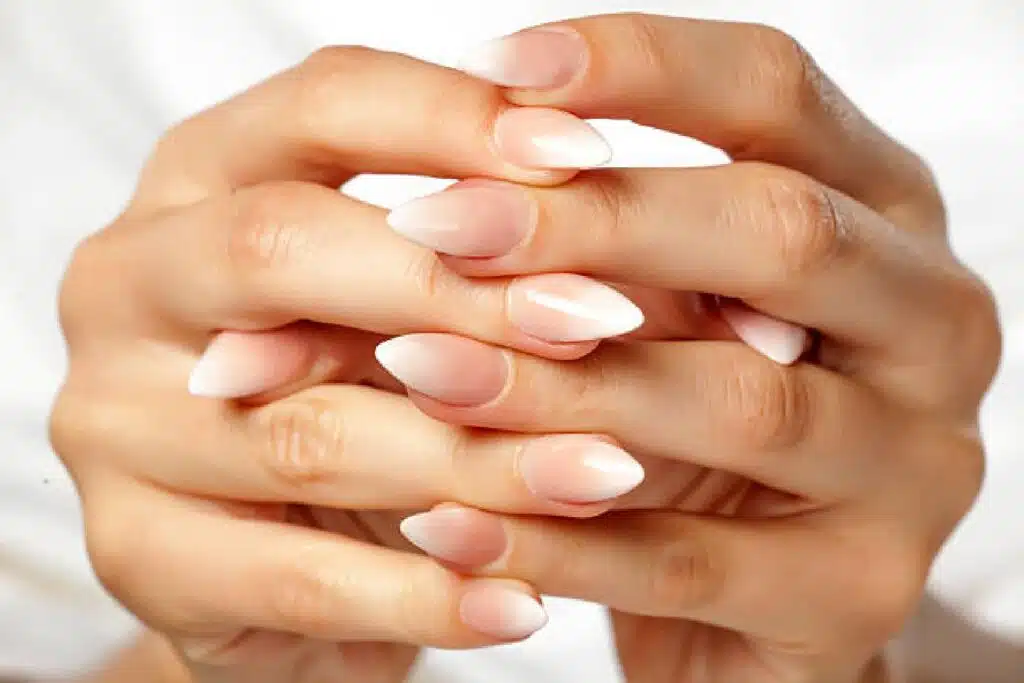
1. Clean Your Nails
Remove nail polish currently on your nails with a cotton ball lightly soaked in nail paint remover. Trim your nails gently with nail clippers until they are the appropriate length.
Then, using a nail file, shape your nails and smooth off any rough edges.
You can also use a round manicure stick to push back your cuticles. This will make your nails appear longer.
Alternatively, you can use your opposite hand’s thumbnail to push back your cuticles.
Also, get yourself a premier quality ombre nails kit with all the necessary accessories for your DIY. Doing this will ensure the outcome results in gorgeous nail art.
2. Apply a Clear Base Coat
Apply a small layer of clear base coat to all of your nails.
A clear base coat prevents your nails from staining from colored polishes.
It also helps to extend the life of your manicure by reducing the occurrence of cracks in your nail polish.

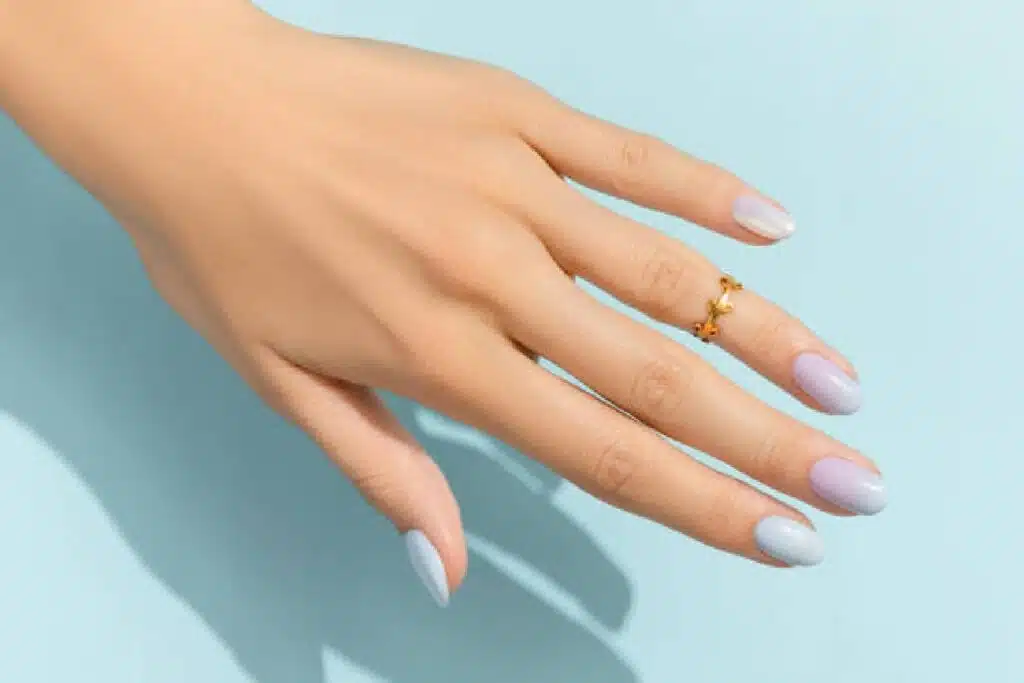
3. Apply Base Color Coat
The base color for ombre nails is typically white polish or the lightest shade you intend to use for the ombre effect.
While a white polish will make colors appear bright, utilizing the lightest of your planned ombre polishes will result in a softer, more delicate ombre look.
Use this backdrop color to paint all of your nails.
Dye two coats of your base color to achieve an opaque base.
Allow the first coat to dry before applying the second coat. Applying two light coats of paint to your nails is preferable to one thick and heavy coat.
4. Paint Ombre Colors on a Makeup Sponge
Using a small makeup sponge, paint your ombre colors in straight, horizontal lines side by side. The sponge area you paint with should be roughly the same width as your nails.
Start by drawing a line across the sponge width with the lightest nail polish color. Then, behind the first color, paint with the next darkest color.
Finally, apply the darkest polish hue beneath the second line of polish.
Ensure all colors are painted near one other, with no visible sponge between them.
For each color, apply a couple of coats of polish to the sponge so that the polish is moist enough to stamp onto your nail.


5. Stamp the Polish on Your Nails
Stamp the polish onto your nail by repeatedly pressing the sponge on top of it, taking the sponge away every couple of stamps to see if the ombre is dark enough and to your satisfaction.
6. Roll the Polish onto Your Nails
Roll the polish onto your nails by pressing the sponge’s side edge on the side of your nail.
Slowly roll the sponge across your nail to the opposite side. Repeat to darken the polish colors and enhance the ombre look.
7. Reload the Sponge
After you’ve completed the ombre effect on one nail, refill the polish onto the sponge to keep the ombre colors wet and vivid.
Paint the nail polish colors in the same order as before, starting with the lightest and working your way down to the darkest.
Make sure that all of the polish colors are touching each other.
In addition, keep in mind that if you attempt to ombre your nails with a sponge that isn’t sufficiently dampened with polish, the dry sponge can rip off your base color coat and harm your varnish.

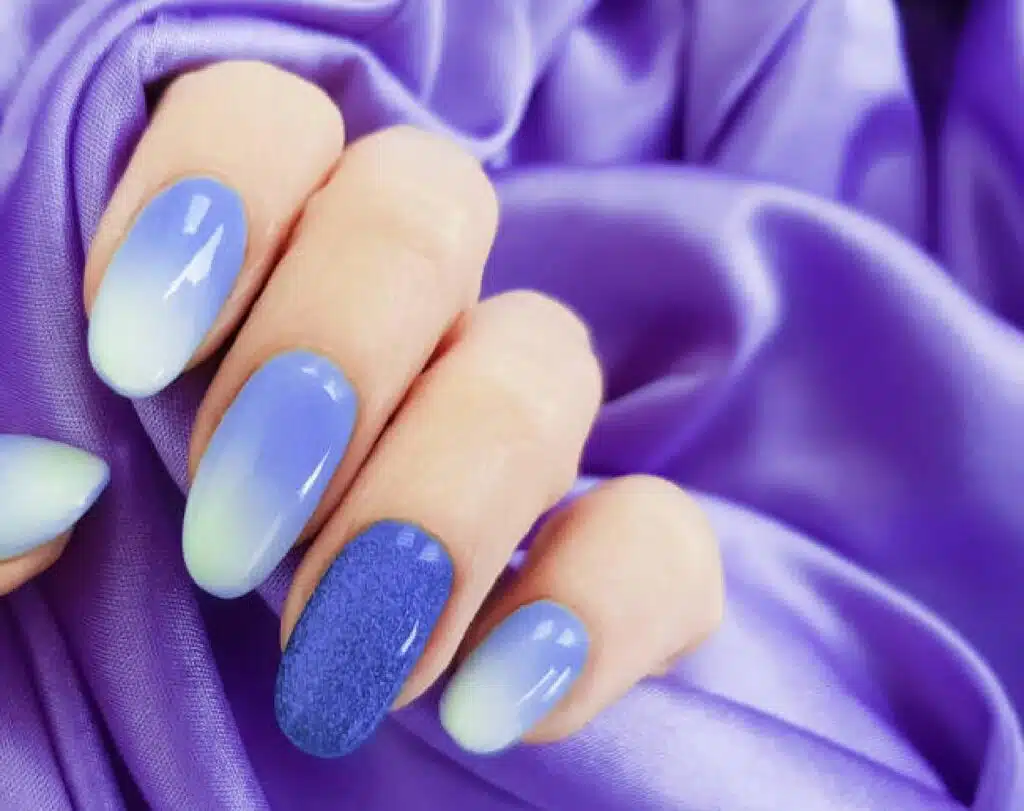
8. Apply a Topcoat
After all of your nails have dried (approximately 10-15 minutes), apply a top coat of clear paint to your nails.
Considering sponging creates a stippled and uneven appearance on your nails, you may want to apply two coats of top coat to smooth them out.
9. Clean Up the Skin Around Your Nails
Swipe a small paintbrush, or Q-Tip soaked in nail polish remover along your nails’ edges and cuticles.
The cotton on the Q-Tip will aid in removing polish from the skin, whereas the paintbrush will be more precise in removing extra nail polish.
Conclusion
If you want to paint your nails with gorgeous and vibrant nail paints, the ombre nail painting trend is a must-try.
This look is not only simple and elegant, but it is also one that you can create as soon as you complete reading this step-by-step instruction.
These instructions will help you paint classic ombre nails correctly.