
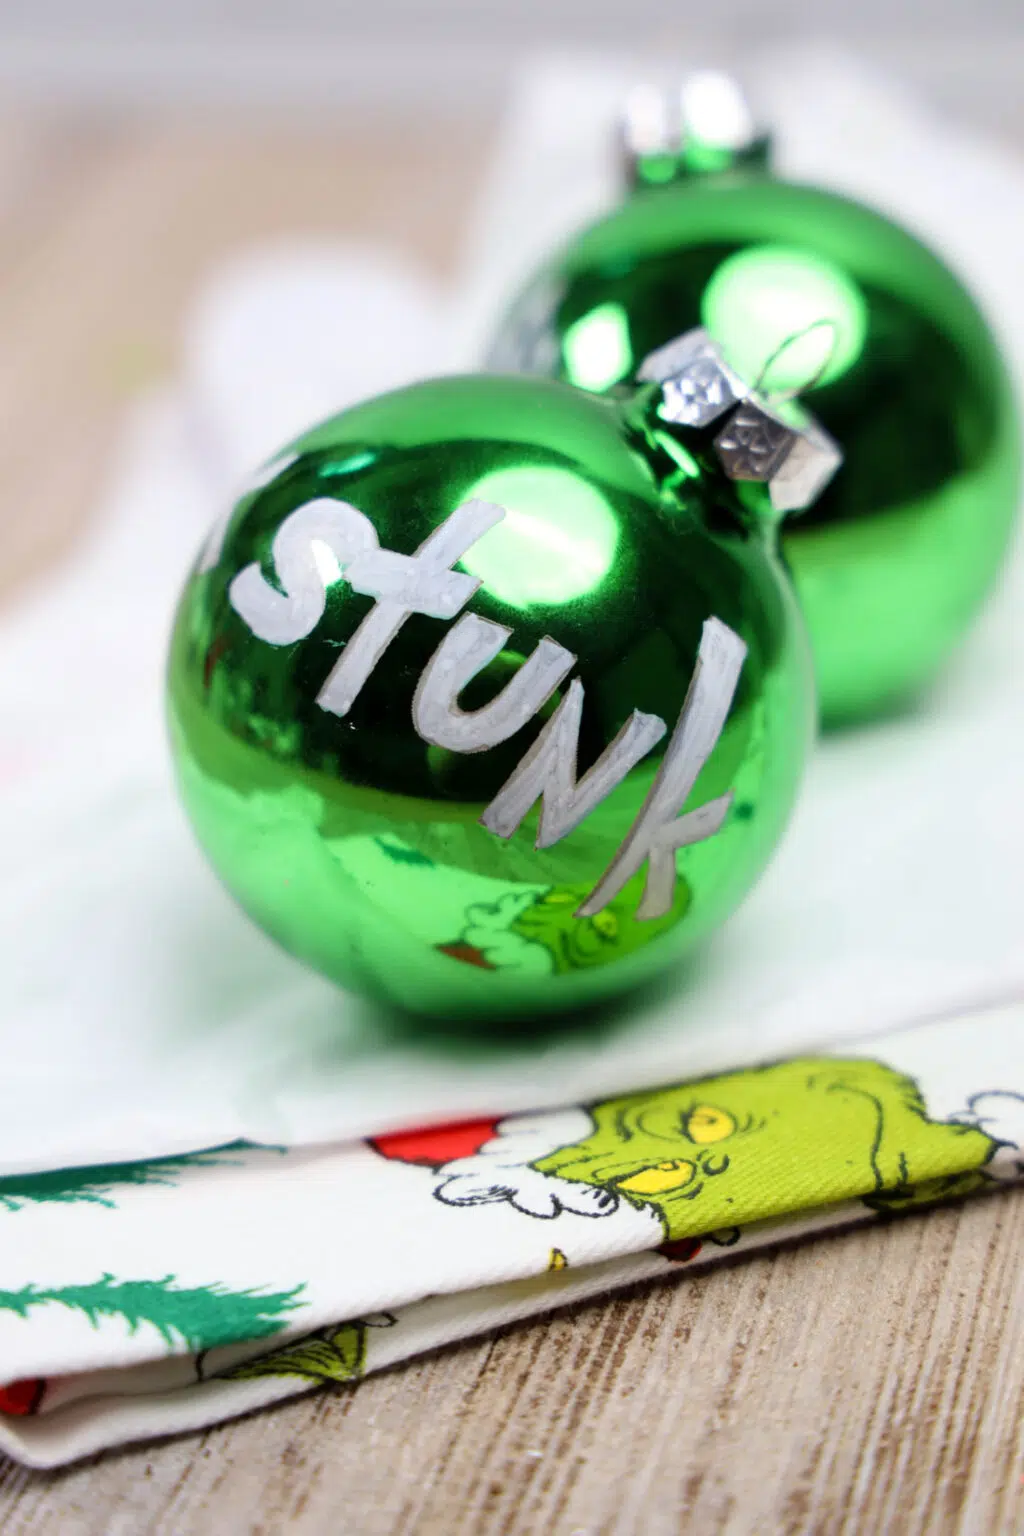
Transforming a simple green glass ornament into a Grinch-inspired decoration is the ultimate way to add some cheeky charm to your holiday season. With the XTool M1, this project is creative and approachable, even for beginners.

This step-by-step guide will help you make a custom Grinch Glass Ornament using the XTool M1 machine while ensuring precision and a professional finish.
What You’ll Need For a Grinch Glass Ornament
- Green Glass Ornament
- White Acrylic Paint (optional for coating the interior)
- White Sharpie Creative Marker (brush tip)
- Ra2 or RaPro Chuck Attachment (for rotary engraving)
- XTool M1 Machine
- Plastic Drop Cloth (to protect your workspace)
Why This Project Stands Out
This DIY project combines creativity with technology to produce a unique keepsake. Whether you’re gifting it to a Grinch fan or adding it to your holiday décor, this ornament is:
- Customizable – Add names, dates, or holiday phrases for a personal touch.
- Beginner-Friendly – Clear instructions and simple tools make it accessible for all skill levels.
- Budget-Friendly – Create custom ornaments at a fraction of the cost of store-bought options.
- Keepsake-Worthy – A perfect addition to your holiday traditions.
Step-by-Step Instructions
1. Setting Up Your Ornament
- Attach the Chuck Rotary with the long metal ends as outlined in your Ra2/Pro booklet.
- Position the ornament in the rotary, ensuring the chuck’s metal ends touch the top. Use the suction end at the back to hold the ornament snugly without over-tightening to avoid breakage.
- Remove the ornament’s metal top to keep it clear for engraving.
2. Configuring the Software
- Open the XTool Creative Space software.
- Select the Chuck Rotary option. Input the ornament’s diameter—65mm (3.5 inches) works well for standard ornaments.
- Align the machine’s red light to the top center of the ornament and use the Auto Measure feature to calibrate.
3. Engraving Settings
- Use these recommended settings for glass:
- Power: 75
- Speed: 230
- Passes: 1
- Lines per inch: 100
- These settings ensure a clean and detailed engraving.
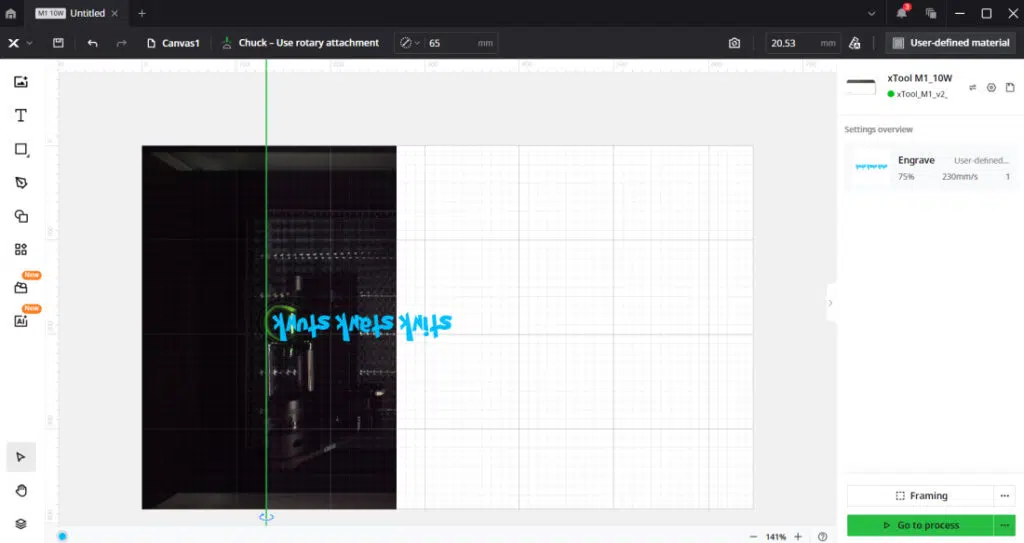
4. Uploading and Aligning Your Design


- Import your chosen design into the software.
- Align it carefully to the right of the green line in the interface. Move the green line to the leftmost edge of the ornament for proper placement.
- Ensure the design is upside down to appear correct once engraved.
- If you’re using text:
- Download a Grinch-inspired font like Grinched from DaFont.
- Type your text, then Select All and click Weld to avoid cutting errors.
- For multi-line text, click Compound to group the text as one vector.
5. Testing Placement

- Use the Framing Tool to preview how the design fits. This helps ensure the engraving area matches the ornament’s surface. Adjust the diameter or design placement as needed.
6. Engraving Your Ornament
- Once framed and aligned, start engraving. The XTool M1’s precision ensures the design looks polished and professional.
Finishing Your Ornament

- Clean: Wash the engraved ornament with Dawn soap to remove residue and let it dry.
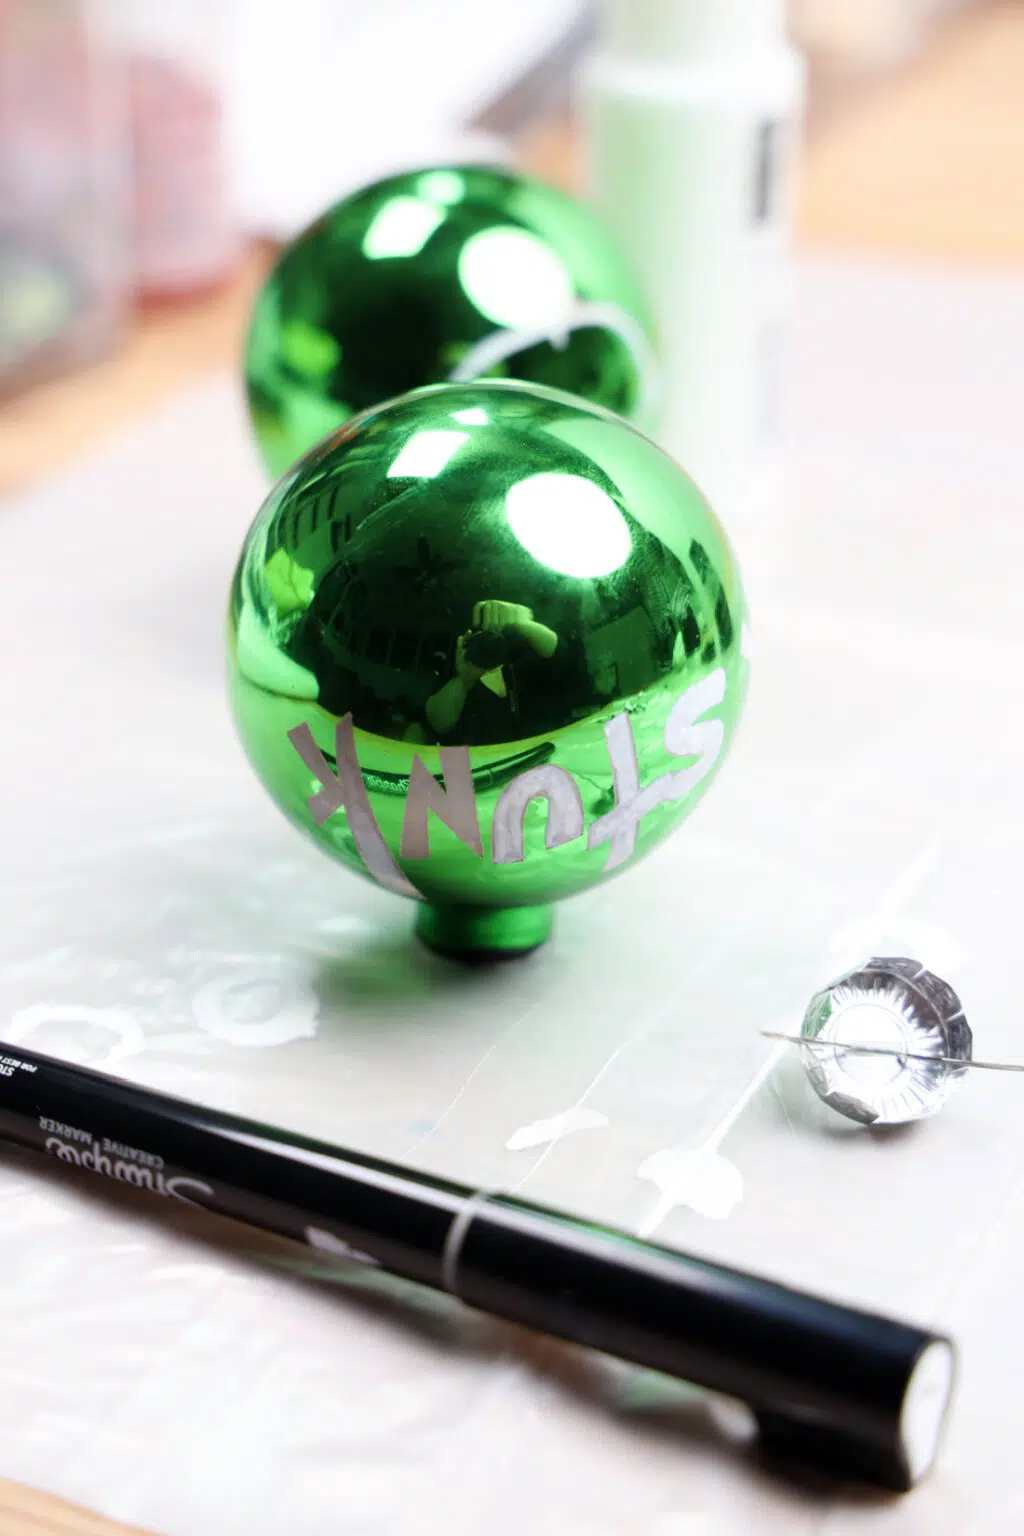
- Add a Frosted Look: Pour white acrylic paint inside the ornament and swirl it around. This step is optional but adds a snowy backdrop.
- Highlight the Design: Use a white Sharpie Creative Marker to fill in the engraved areas. This makes the text or design pop beautifully against the green background.

Troubleshooting and Tips
- Keep It Simple: Intricate designs may not translate well onto curved surfaces. Bold, clear patterns work best.
- Secure Placement: Ensure the ornament is snug but not too tight in the chuck to prevent slipping.
- Test Settings: Before engraving, test your design on a scrap piece of glass to fine-tune settings.
- Handle With Care: Glass ornaments are delicate, so take your time during setup and engraving.
Common Questions
Q: Can I use plastic ornaments instead of glass?
Plastic is not recommended for this project, as it may warp or melt under engraving settings.
Q: What happens if my ornament shifts during engraving?
Double-check the rotary chuck setup to ensure the ornament is securely positioned. Avoid overtightening, as this can lead to breakage.
Q: Do I have to coat the inside with paint?
No, the acrylic paint step is optional. It enhances the engraved design’s visibility but isn’t required.
Q: Can I add more than one line of text?
Yes, but keep in mind the size limitations of the ornament. To ensure alignment, the multi-line text should be welded and grouped as a compound vector.


Creative Variations
- Add Glitter: Swirl glitter inside the ornament with glue for extra sparkle.
- Try Metallic Markers: Use gold or silver Sharpies instead of white for a luxe finish.
- Personalize Themes: Create sets of ornaments featuring holiday characters or family names.
- Layered Designs: Experiment with engraving layered text and patterns for a multidimensional look.
Why You’ll Want to Make This Ornament
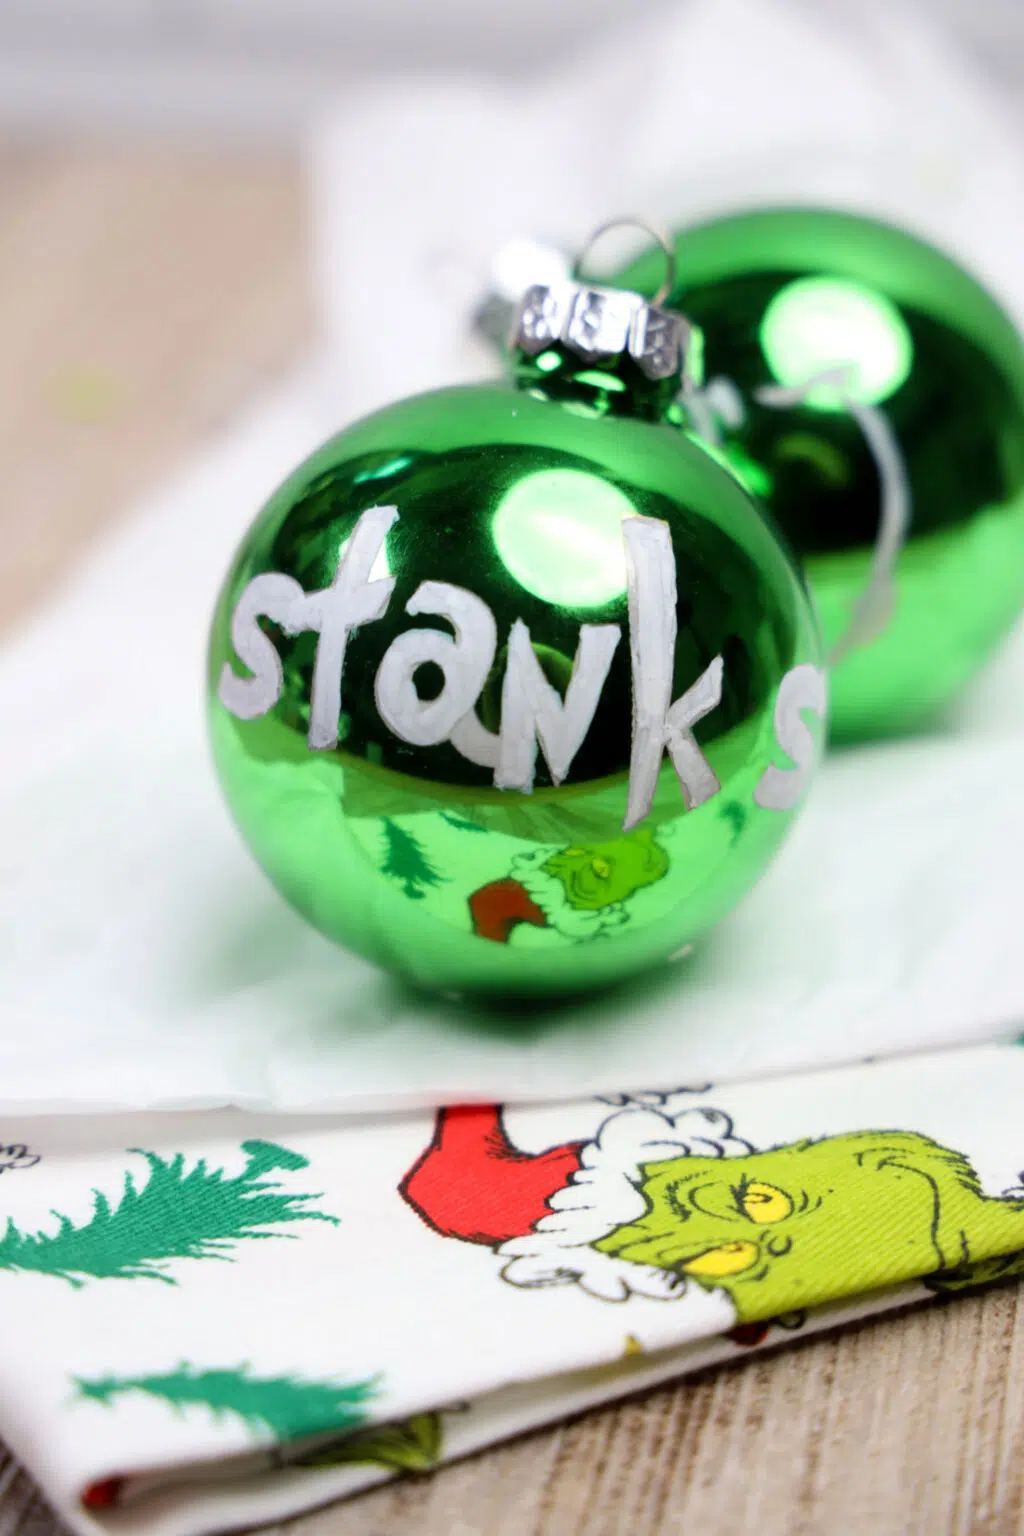
This Grinch Glass Ornament is the ultimate combination of technology and tradition.
Whether for your holiday décor or as a thoughtful gift, it’s a project that stands out.
Each ornament is unique, reflecting your creativity and the season’s charm.
Making Your Grinch Glass Ornament Truly One-of-a-Kind
A Grinch glass ornament is more than just a decoration. It reflects your creativity and holiday spirit. With the XTool M1, you can bring this iconic character to life in a way that feels personal and fun.
Whether you engrave a famous Grinch quote, a festive design, or even personalize it with names or dates, the options are endless.
These ornaments add a whimsical touch to your tree and make wonderful gifts that friends and family will treasure.
Crafting your Grinch glass ornament is a fantastic way to create lasting memories while embracing the joy of handmade holiday projects.

Grinch Glass Ornament Tutorial with the XTool M1
Grinch Glass Ornament Tutorial with the XTool M1

Transforming a simple green glass ornament into a Grinch-inspired decoration is the ultimate way to add some cheeky charm to your holiday season. With the XTool M1, this project is both creative and approachable, even for beginners.
Materials
- 1 Green glass ornament
- 2 tablespoons white acrylic paint
- 1 white Sharpie Creative Marker brush tip
- Ra2 or RaPro - chuck attachment
- Plastic drop cloth
Tools
- XTool M1 Machine
Instructions
- Set up the chuck to have the long metal ends. There is a tutorial for this in the booklet that comes with the Ra2 or the Pro. Place the ornament with the metal ends touching the top of the ball. Use the suction end to place at the back of the ball and close till it's snug not tight as you don't want to break the ball. Be sure to remove the metal top from the ball.
- In the XTool Creative Space software you will need to select chuck rotary, put in the perimeter or diameter. For these balls that was 3.5 (65mm) diameter which worked better when it was in MM.
- Make sure to align the red light in the machine to the top of the ball in the center. Then click auto measure. Engrave settings that worked well for me were 75 power, 230 speed, 1 pass, 100 lines per. This works on glass balls only not plastic.
- Import your design and align to the right of the green line. Make sure the green line is pulled to the very edge of the ball on the left. As you can see in the screen shot it needs to be upside down facing away from the top of the ball.
- If you are using font like I did here. The font is called Grinched. It's free. (https://www.dafont.com/grinched.font) Just go to the text tool and select grinched. Type out what you would like it to say. Select all of it and click weld. You must click weld with fonts in order for it not to engrave or cut jumbled. Align the text to the ball and your ready. If you have two lines of text which is a lot for the ball you will need to weld then click compound to make sure it's all one vector.
- Using framing. You want to use framing to make sure it goes all the way around the ball where your design would be. If it's not then you need to adjust diameter.
- Start the design and you are ready to engrave.
- Once the design is engraved wash off the ball with dawn soap. Let dry. You can pour white paint to coat this inside. This is optional. Then use the white brush tip creative marker to fill in the front to make it pop.