
As the name suggests, custom boxes are made from paper or boards. Nevertheless, it isn’t as easy as it sounds to use and customize them.
With these boxes, you can fulfill any purpose you require with ease. As a result of the cardboard’s flexibility, this versatility is possible.
These versatile boxes are available in any size and shape based on user needs and preferences.
These boxes are print-friendly, which is one of their unique features.
For a catchy look, they are also embossed with raised-ink patterns. This increases the durability of the packed material by preventing contamination.
Keeping the environment green is one of their responsibilities. As a result, these boxes are becoming increasingly prevalent worldwide as a replacement for plastic ones.

You can fulfill your needs and protect the environment by choosing these products. Products are packaged in cardboard boxes in a sophisticated manner.
Brands can advertise using these by customizing them.
Parcels can take a variety of shapes and designs, depending on the product. Even greeting cards received on special occasions can be turned into gift boxes if you don’t want to throw them away.
For this purpose, we discuss a few DIY projects.
Place In The Sleeve After Folding
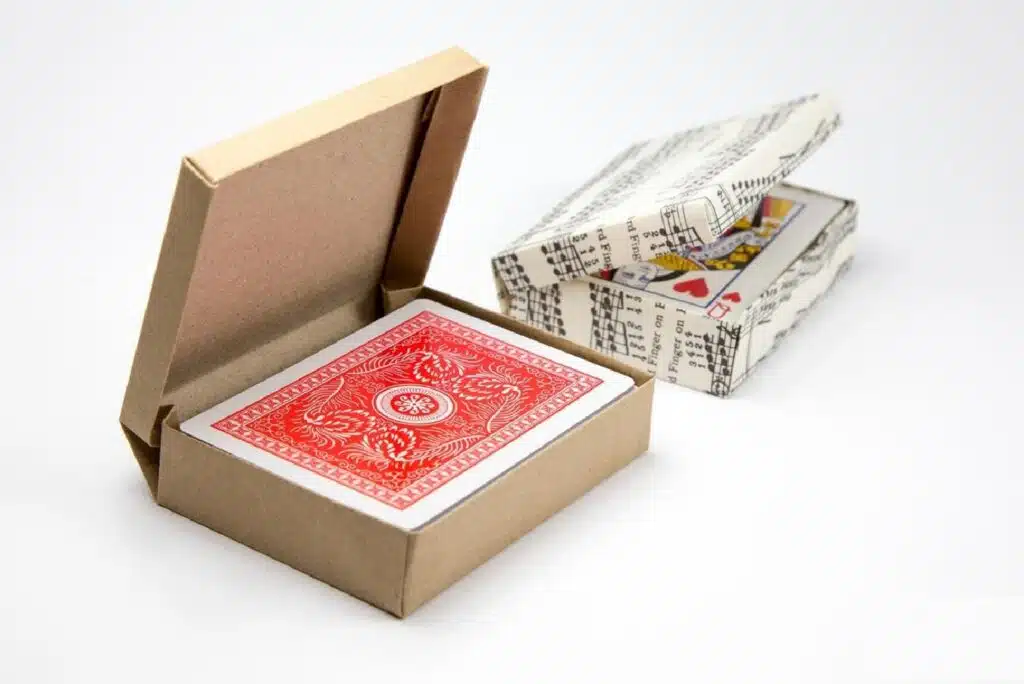
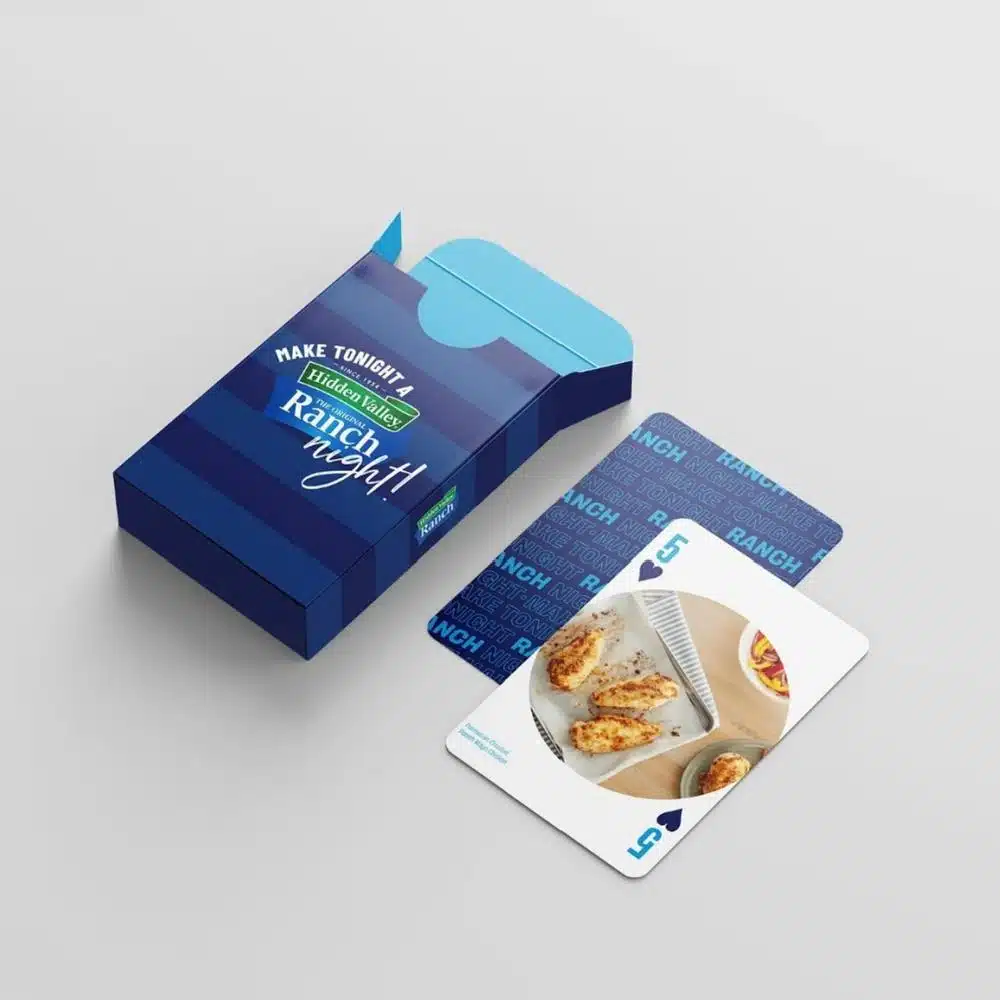
Among packaging boxes, sleeves are one of the most common and elegant designs. As a result, you’ll find it very useful to make the cards into custom boxes in the form of sleeves.
Transformation does not require much effort. You must have glue, scissors, and other accessories for designing. Join the opposite edges of the cards with glue at the very first step.
The box sleeves will be made from this. Make the box by making a straight cut at each corner.
You can raise the boundaries by folding a little bit.
The raised boundary height varies depending on what you want to pack inside. Sleeve size should be adjusted according to box size. It is not always necessary to cover the entire box with sleeves.
Adding a bit of visibility to an item is as simple as cutting the sleeves short.
Your self-created box is ready to be used once you’ve inserted it into the sleeve. Whether you want to use it for storage or some other purpose is up to you.
Create A Hut By Molding
You might have encountered these impressive style boxes while shopping or received them from a loved one. The design allows you to create your gift package.
The plan will enable you to create your gift package. Its high boundary walls make it possible to accommodate large gifts.
Create boundaries by making more significant straight cuts at the edges and folding them.
To hold these folds in place, apply adhesive gum between them.
Some parts can be left as accessible endings, and some can be sloped to give it a hut-like appearance. Doing this allows you to create a handle on top that you can hold.
Using ribbons, pearls, pre-tied bows, or other embellishments, make the box look like a gift box.
This style can do art and craft work on a larger surface area.
Art patterns and quotes can be written however you like. You can pack gifts inside, and they will be able to see custom boxes.
Lids Should Be Attached
Whether looking for a practical solution to keep your make-up drawer organized or helpful tips for managing your art supplies, you’ll purchase retail boxes with lids.
These boxes are so easy to construct that you will be amazed at how quick and easy it is.
As in the sleeve design, take two thick cards and convert them into boxes with a small border height. Remember to make one box’s base half a centimeter wider if you wish it to serve as a lid.
To arrange your belongings in an organized manner, you can insert some dividers.
Dust and other contaminants will not be able to enter the box through the lid. Therefore, this is more convenient for organizing and storing things.
Expansion Of Windows
In addition to storage and protection, boxes can perform various functions.
Since all other fields have advanced, containers have been utilized more varied ways, and the enhanced features are even more valuable.
The noteworthy point is that the packaging is intended to provide a glimpse of the item within. With the introduction of windows, this idea comes to life. To life.


As you convert a card into a box, you can also apply this idea.
Don’t forget to cut patterns from the surface of the container you just made to give it a look like packaging of customized boxes.
The window will be made from this cut. It is, therefore, possible to cut any shape you desire.
Add some glitter to the box window for a more eye-catching appearance.
In this way, you will be able to view your item in a glamorous manner.
This goal has so many ideas and suggestions that it’s impossible to express them. A cardboard box can be assembled and designed from a card following the above statements.
If you bring in well-formed cards, these suggestions will help you customize them.