
A nail gun is a handy tool that makes short work of any project that would require lots of nails to be hammered in.
It is especially useful for large endeavours like installing a deck, making a tree-house for the kids, framing a house, fencing, or even building furniture.
A nail gun or “nailer” dramatically cuts down the time taken for the task and it also improves the consistency and stability of the nails hammered in.
While I am in no way or form undermining the role and functionality of a standard hammer, but just the ease of using a nail gun and the fact that it allows for quicker turnover of completion of your projects, I’m surprised more people don’t consider buying electric nail guns for their home tool collections.
Fact is, using tools makes your life easier, and the sooner you get a project done, the sooner you can move on to the next task on your list… or have more time to relax and enjoy the fruits of your labour.
However, using a nail gun can be technical if you have never used one or even seen one being used.
It requires some practice and getting used to.
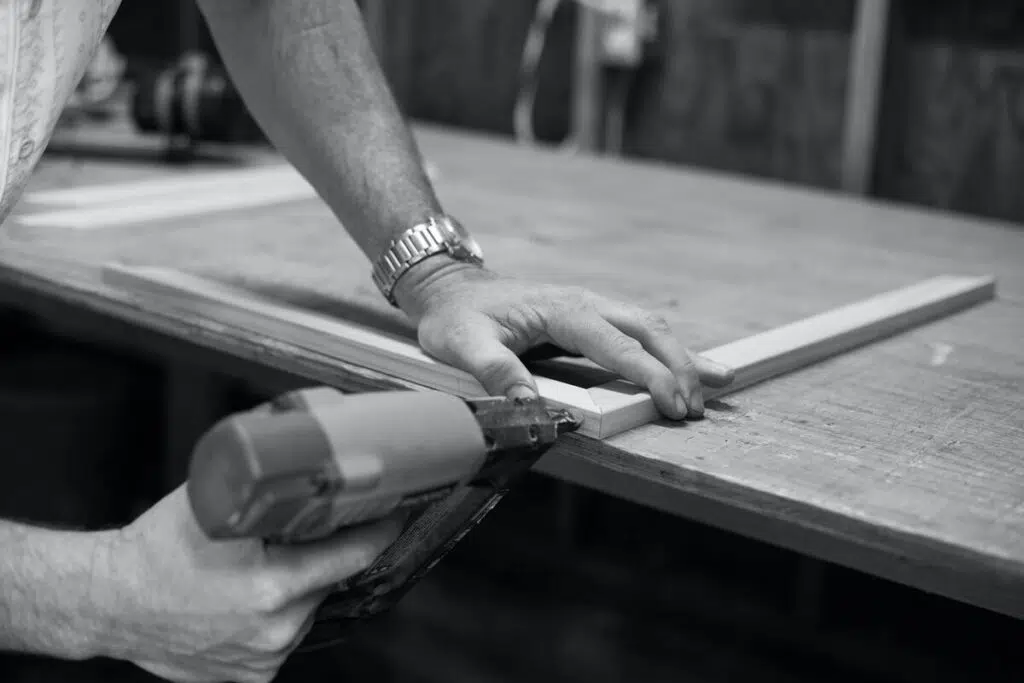
Luckily my amazing friend let me play with his gun and showed me just how it to make it shoot.
I’ve summarized the gist of his lesson here so you can benefit from my experience.
STEP 1: LOADING A NAIL GUN.
Nail guns come with varied specifications and guns manufactured by different brands obviously differ in some aspects.
However the most commonly loading mechanism on nail guns is the slide type.
You can load a slide type nail gun by pressing the magazine release and then sliding the narrow case that houses the nails – the magazine- back towards you.
The magazine doesn’t pull out all the way, so just open it enough that you can drop some nails into the chamber.
Nails for a slide type nail gun are available in the form of strips- make sure your strip of nails has the pointy edge pointed down.
Then simply push the magazine back until you hear it click, which confirms that it has safely locked into position.
Another type of nail gun is one that has a coil loading mechanism.
As the name suggests, this type of nail gun works with coils of nails rather than strips.
Coil type guns are mostly used by professionals so they do not have to load their nail guns as frequently.
To load this type of nail gun, you have to open the cylindrical case that houses the nails.
This is done by releasing the catch button on the gun.
You then place a coil of nails in the case ensuring that the pointy end faces down.
You’ also have to manually place the first nail of the coil in the designated slot that will then automatically feed the rest of the nails into the gun.
Close the case properly, you should hear a click.
STEP 2: POWER UP THE NAIL GUN.
Once you have successfully loaded the nail gun, connect it to the power source.
Obviously never ever have it plugged in while loading.
Nail guns can be powered in a variety of ways depending on the make, some are battery operated, some connect via an electrical cord, some used compressed air, and some models even work on butane cartridges.
Follow the instructions on your manual for this step.
STEP 3: POINT AND SHOOT
Well it isn’t as simple as that. You should carefully position the tip of the nailer and press the trigger to shoot a nail.
Make sure that you are holding the nail gun at a right angle to the surface, and it is completely perpendicular and not at an angle.
Then press the tip of the gun against the surface to press the safety nosepiece. Hold the gun stead and pull the trigger.
You should practice on a scrap piece of wood a few times to get the feel of it.
If the nails you are shooting are consistently crooked or sticking out, you should adjust the depth selector.
The manual will tell you where to find it on your brand of gun.
Crooked nails could also be because you haven’t positioned the gun in a stable way or are lifting the gun as you shoot.
Make sure you press the nail gun firmly to the surface until after you’re done firing the nail.
STEP 4: REMOVE ANY JAMS IF NEEDED
A nail gun might jam if the nail hits an unexpected hardness like a knot in your wood or part of another nail.
A jammed nail gun won’t fire any more nails when the trigger is pulled. In this case you must first disconnect the power source.
Then using the process described in Step 1, open the magazine slot.
We open the magazine to release any extra pressure on the jammed nails.
Locate and open the safety cover and use pliers to remove the nail that has jammed.
Close the cover. Reload the magazine and power up. Happy Wood Crafting!