
Having a weekend at home is an avenue to discover creativity, gain ability, and use the unused materials you have gathered for something useful. Fabric crafts are actually a great starting point as they often do not require high-end equipment or even an advanced knowledge of sewing.
They need only a handful of basic materials and some bits of fabric left over after previous projects to whip up accessories that can be both stylish and useful, even for new sewists.
Whether it be simple headbands or reusable wrapping decor, these are all practical and creative projects where we can experiment with colours, patterns and textures. They also help to minimise textile waste by repurposing old clothing and fabric scraps.
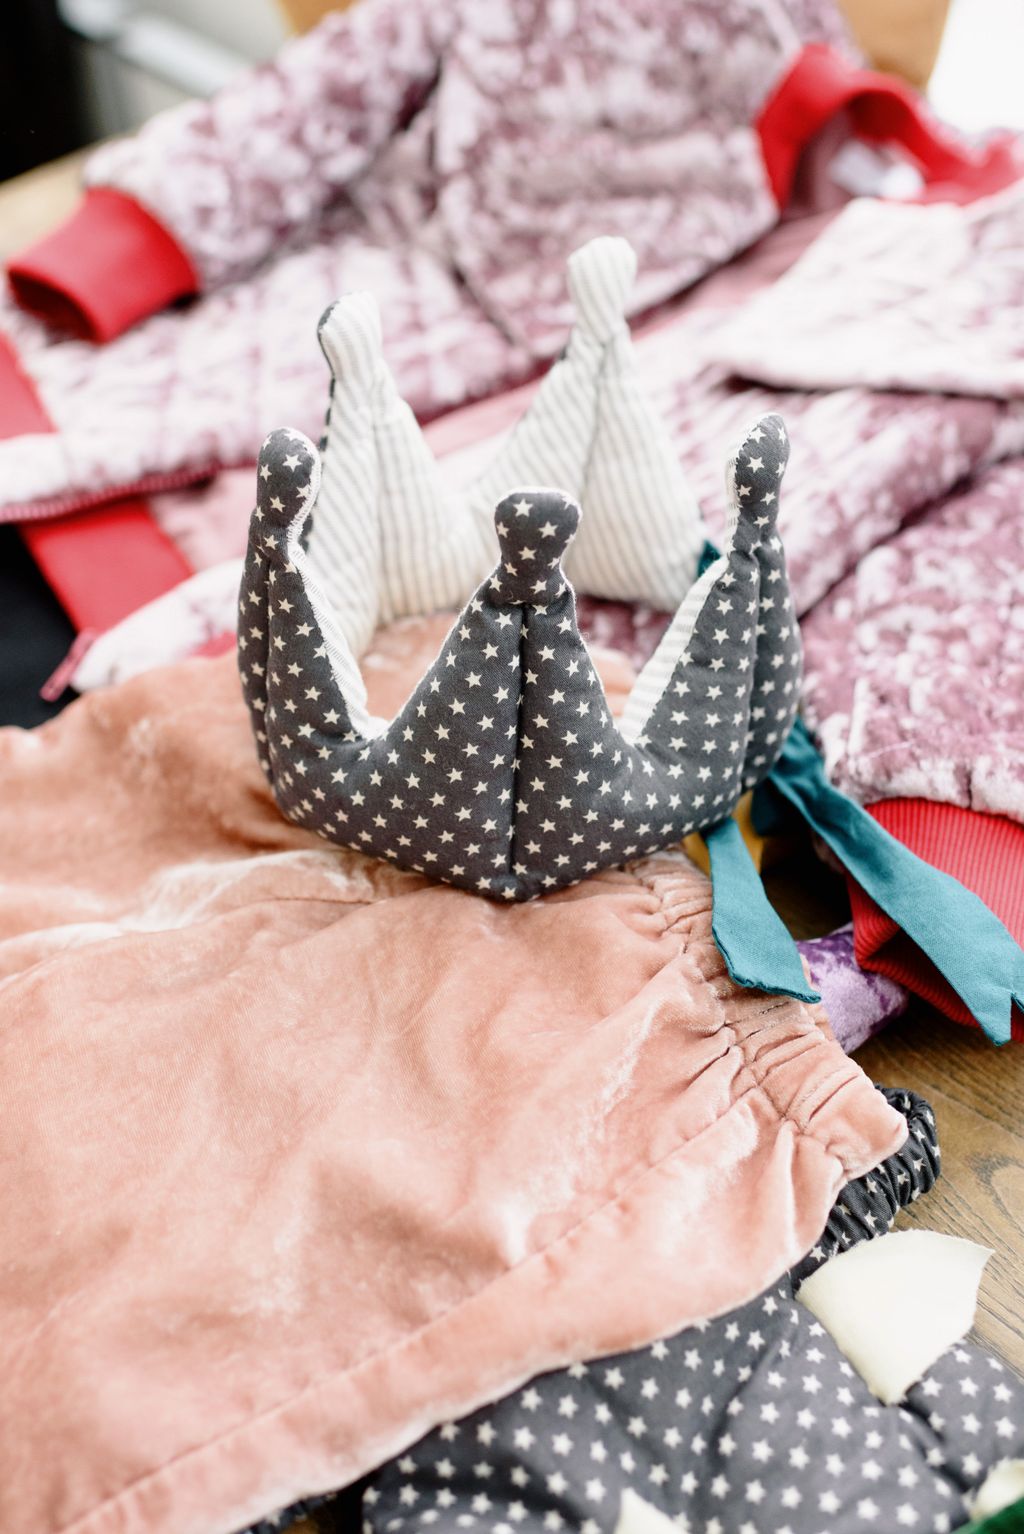
If you love doing crafts by yourself or want to plan a fun DIY activity with the family then these simple yet chic fabric accessory DIY hacks will be good for a laid-back home day on the weekend.
Why You Should Try DIY Fabric Accessory Projects
Fabric crafts merge creativity with practical problem-solving. You don’t just chuck a piece of material, you use it and transfer small pieces into things with usefulness when they are in your everyday life This will not only prompt you to utilise your household resources wisely, but also teaches skills like measurement, cutting, sewing and colour combination.
Small projects are especially good for novices given they can generally be completed in a few hours. They also allow you to practice without the waste of yards and yards or yardage.
Another benefit is flexibility. You may opt for regular patterns, perform some trial patterns or you can also tailor made the completed components as per your style. Not to obtain professional results immediately, but rather to enjoy the ride and improve step by step.
Basic Supplies And Tools Needed For Beginners
Gather a few minimal supplies to follow along with. You will also need fabric scissors, a measuring tape, a ruler, washable fabric markers and pins or clips (fabric clips), with one sewing needle plus thread to go round for many of the basic projects. Not every design requires a sewing machine, but it can be helpful.
Cotton has always been comparatively much easier to manage and comes in multiple colours, hence they are a popular choice. Lightweight non-stretch woven fabrics can be used for headbands, scrunchies and embellishments; slightly heavier weight fabrics may work better for small pouches.
Another option is to use clean, intact fabric from old shirts, pillowcases or unused scarves. Before cutting the material, check for some stains, torn or thinned areas. If reusable fabric has dirt on it, wash and dry if applicable before measuring then follow regular care instructions by pressing it to make measuring easier.
Five Simple Fabric Accessory DIY Projects
Make a Simple Fabric Headband
The fabric headband can be an easy first project for a beginner because it requires minimal measuring, folding and stitching.
Materials: A fabric strip, the same colored thread, scissors, a measuring tape and potential rubber band.
Measure up first the head of the wearer where you want to wear it, use that to help calculate how much long you need. Including whatever finishing method you choose to make your elastic or fastening you are doing with. Cut a strip that is wide enough to be folded into your desired final form.
First, take the fabric and fold it long-wise with the printed sides in to each other. When designing the project, do not sew up your ends if you will turn it right side out. Very gently twist it into a sausage shape and flatten. Fold the ends over to finish those raw edges, tack them with a few stitches (including elastic if you need), and be wrapped up in that sheet set for years to come!
So select soft material and do not over tighten the headband. Comfort matters more than color and accents.
Create a Reusable Fabric Scrunchie
Scrunchies are another great, affordable project that is good for out of fabric.
Things required: Rectangular fabric strip, elastic, needle and thread, scissors and a safety pen or bodkin.
Now fold the length of fabric strip right sides together and sew a long edge to make a tube. Based on the October 2023 data set, turn the whole tube right way out before you pin one end of the elastic with a safety pin and take it through any part of your fabric.
Stretch the elastic until it gathers into a comfortable scrunchie. Do some stitches to fasten the elastic ends, such that they cannot be separated easily. Tucking inwards the raw edges of fabric and stitching shut the opening.
Cotton A good starting fabric is lightweight cotton. If you want a bigger scrunchie, go with a wider strip or just make it longer then the steps below! Go ahead and give the completed accessory a gentle test-run to verify that the elastic is well secured now.
A Bandana from a Fabric Square
A super easy project where beginners get to learn about straight edges, hems and finishing off fabric. When the fabric and size are appropriate, it can later be used as a hair accessory, tied around a bag strap or as a small neck scarf.
Material: Square fabric, ruler, fabric marker (or pen), scissors and thread
It starts with establishing the finished dimensions you would like. First using a ruler, pay four sides evenly then cut. Give a bit of fabric at each edge for a narrow hem.
Tuck each raw edge in on itself, then once more to encase the unfinished edge. Carefully press the pleats in place and stitch around the square while keeping your seam uniform. Check corners, trim loose threads.
As a starting point, you can find bandanas worn as everyday accessories in 4inbandana.website where it’s relevant to one of the ideas we discussed on styles and fabrics.
When shopping for fabric of your own, think about where the blanket will be used, how breathable it is, softiness and if the fabric is easily washable. A neat hem keeps the head features in shape with everyday wear.
Sew a Small Drawstring Pouch
The drawstring pouch is especially useful for storing jewellery, craft supplies, travel items or any other small items.
Materials: Two equal rectangles of fabric, a needle and thread, scissors, a cord or ribbon used as a shoelace and also a safety pin.
Position Fabric Pieces, Right Sides Together Sew on the side and bottomLeaving open on tops Then fold top edge to the inside to form a channel that will fit your cord and sew around leaving an opening for threading.
Attach it to one end of the cord with a safety pin, and run it through the channel. Pull the pin out and secure both ends of the cord. Before using your some-as-pure pouch, turn the pouch to the right side and take a look at those seams.
Pick a fabric that is durable for the contents you are going to store. If you intend for the pouch to hold heavy items, be sure to double-stitch the bottom corners.
Make Reusable Fabric Gift-Wrap Decorations
Tiny strips of fabric can transform into delightful gift-wrap embellishments so you can make use of fabric remnants rather than throw it away.
Material: Fabric strips, scissors, thread, ribbon or buttons (optional)
Use fabric strips that are cut to the length of your choosing If the material frays easily, turn the edges inwards and sew or press wherever required. Tie the strips into easy bows, tuck them into pretty arrangements or use them to wrap around recyclable gift packaging.
Choose patterned fabric that works nicely with the gift wrapping for an easy project. If you want something a little heavier to use that bow as long as possible, sew the centre of it together so indeed it keeps its form for storage.
Finished decorations can be stored in a dry container and reused for birthdays, holidays or other parties.
Tips for Better Results With Fabric Crafts
Even basic projects can be made straightforward when you plan ahead. So do those things and get sense of how your stitching will work by using a piece of the same material as a tester. This allows you to verify thread tightness, stitches length and how fabric works the primary test.
Use a needle and thread that suits the fabric. If you make the stitches too tight, lightweight materials may pucker; heavier-weight materials may require a needle that is stronger. If edges need to be finished to reduce fraying and follow fabric care when ironing.
Beginners should also avoid rushing. Taking some time to match up edges and stitching seams usually makes a cleaner better than complicated adornments on badly finished jobs except of course I added sloppy embroidery to work.
Common Mistakes to Avoid
You cut the fabric and do not leave space to make seams. So the final piece will be smaller than what you originally designed it for. Another is using slippery or heavy weight fabric before having confidence with basic sewing skills.
Do not pull the elastic too tight, as this can lead to an uncomfortable scrunchie or seams breaking. Likewise, Drawstring channels need adequate space for the cord to move freely.
Use sharp fabric scissors, needles can be in a safe district and keep using normal safety guidelines when functioning with irons or sewing equipment.
Make it a Weekend Out for the Whole Family
When you pick crafts according to each other’s ages and experience, fabric crafts can make fun bonding experiences. Older children or adults will relish the chance to pick out patterns, sort scraps, measure fabric and embellish completed accessories.
Older children can choose colours or arrange fabric shapes with an adult helping them. Keep sharp objects like scissors, needles, irons and sewing machines out of reach; let adults handle them or use them only under appropriate supervision.
Try to enjoy the process of learning new skills and making something rather than trying to make everything look perfect. Even a first pass model who’s not perfect can really teach you lessons in terms of the material you’re using, the measurements and how that comes together.
Final Thoughts
Small fabric sewing DIYs are a practical means of spending a colorful week-end while producing simple items from new or spare fabrics. The basic crafting practices can be honed by making headbands, scrunchies, bandanas, drawstring pouches and fabric gift-wrap decorations.
Choose a project that suits your level of expertise, prepare your specimens cautiously and spend time perfecting each piece before cleaning up. After some practice, basic fabric scraps can be transformed into custom made accessories that serve a purpose in your daily life as well as being fun to create.