
Applying cladding to a wall by yourself is not easy, but maybe these five tips will help you along.

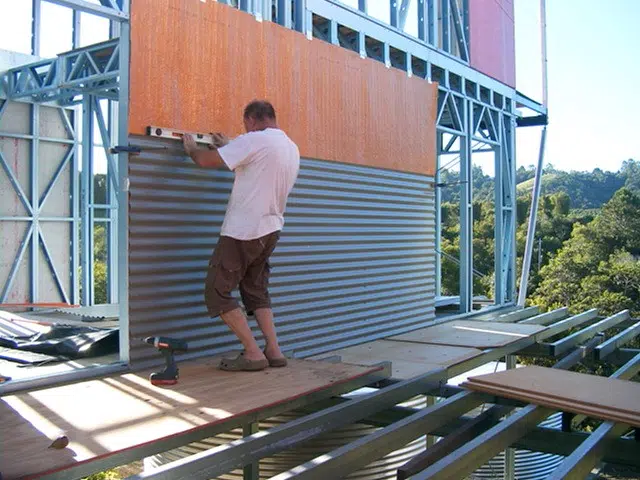
Image by Wendy H Ward via Flickr
Many households in Australia have been taking advantage of the benefits of installing cladding to the interior and exterior walls of their homes. Not all of us are brave enough to attempt DIY when having it fitted since it is quite a substantial job. But if you are the adventurous type, like a tough challenge, or are fairly savvy when it comes to doing your own home improvements, then take a look at these five tips on things you should be considering if you’re looking to install your home’s wall cladding with a professional measure of success.
1. Selecting your Cladding
There are a number of different types of cladding to choose from, each with its own set of advantages and disadvantages with regards to durability, cost, ease of maintenance and installation, lifespan, and suitability to the setting it is applied to. When selecting the kind of cladding you want, you should consider more than just what it looks like. For instance, a cladding that is applied to the exterior of your house, in the kitchen or bathroom needs to be resistant to the damp, which makes palliside or vinyl cladding perfect for the job since they are highly resistant to warping, but those of untreated ply-wood are absolutely not.
2. Priming the wall
Before you begin applying the cladding, there is quite a bit of preparation on the bare wall or substrate to be conducted first. Be sure to firstly clean the wall correctly with a damp, lint free cloth to start off with. Take this opportunity to coat the cladding you have chosen as well, but before you do that, give it a wipe down with either a damp cloth or some isopropyl alcohol.
- Using the correct adhesive
When it comes to installing cladding securely, not just any old adhesive will do, not unless you want the slats to detach themselves unexpectedly. You should take care to only use a neutral non cure adhesive; Dow 795 or 995 will do nicely in this regard. It’s fairly important to remember not to mix your adhesives, if you start with a 795 then be sure to stick with that one for the duration of the job, and not mix it up at some point with 995. When applying it, use a coin sized dollop, and try to find a colour that is as close a match of the treatment of the cladding you are using. You should allow this adhesive to cure for about 21 days before applying the cladding to the wall.
4. Consider the setting
As I said earlier, you need to consider what the environment is where you will be applying the cladding. Areas exposed to harsh weather conditions like sun and rain, or damp areas like those found in bathrooms or kitchens will require you to treat the material adequately, lest it warps or shrinks. It is a good idea to leave the panels of cladding, treated but loose, in the area in which they will be applied for at least two weeks before installing them. This will ensure that any changes in shape such as shrinking will be done before you attach them to the wall and each other, which can cause havoc at this point.
- Maintenance
In general, maintenance on most kinds of wall cladding is actually fairly simple and requires pretty much no professional assistance, especially if you’re the sort to successfully conduct DIY. Blemishes, dirt, and discolouration can typically be removed by washing the surface with a damp cloth and some soapy water. Just wipe the area gently, or dab the dirt away. Scratches, cracks, or irremovable marks can be rectified with some wood filler in most cases, and then treated once again to ensure a uniform colour and tone.
Personally, I wouldn’t recommend this kind of job be done by a layman, it is a finicky task and requires extreme precision, but it is by no means an impossible job. Remember though that it does take time and extra special care, failing to do this will likely result in some fairly wonky results, which would just end up looking tacky, and eventually just end up on the floor.
Gary Puntman
Thursday 20th of December 2018
I agree that you want to consider more than just what the cladding looks like. You ant to choose something that will be resistant to warping, like you mentioned. It will need to be durable and last a long time.